Being an internationally known service, Stripe allows companies to accept online payments in multiple currencies. Let’s see how to create a Stripe account in this step-by-step guide.
Why creating a Stripe account?
Stripe is known for its industry-leading developer tools. These tools allow business owners to integrate and customize their payment processing solutions using various programming languages. The service also allows accepting online payments from bank cards and withdrawing funds directly to your bank account notice.
We’ve already presented all the documents and requirements you need to create a Stripe account. Check it out as we need a lot to start with, including social security number or employer identification number. It has information about pricing plans as well 🙂
Here are some notable benefits of using Stripe as your online payment system:
- Accepts payments without any delays or errors
- Easy to set up for recurring (or subscription-based) payments
- Provides an informative user interface with charts and graphs for customers
- Charges no hidden fees to customers or businesses
- Provides easy-to-use and extensive documentation for developers
- Works with all types of currencies, banks, credit cards, and wallets
- Provides an overall seamless checkout experience for customers
Who is using Stripe?
According to the system’s manufacturer, over 100,000 companies currently use Stripe. Among them are representatives of Internet commerce, service companies, charitable organizations, and website payment platforms. Wanna examples? Facebook, SAP, Kickstarter, Udacity, TED, UNICEF, and many others.
Now it is your turn to create a Stripe account
How to create a Stripe account? Step-by-step guide
- Personal data
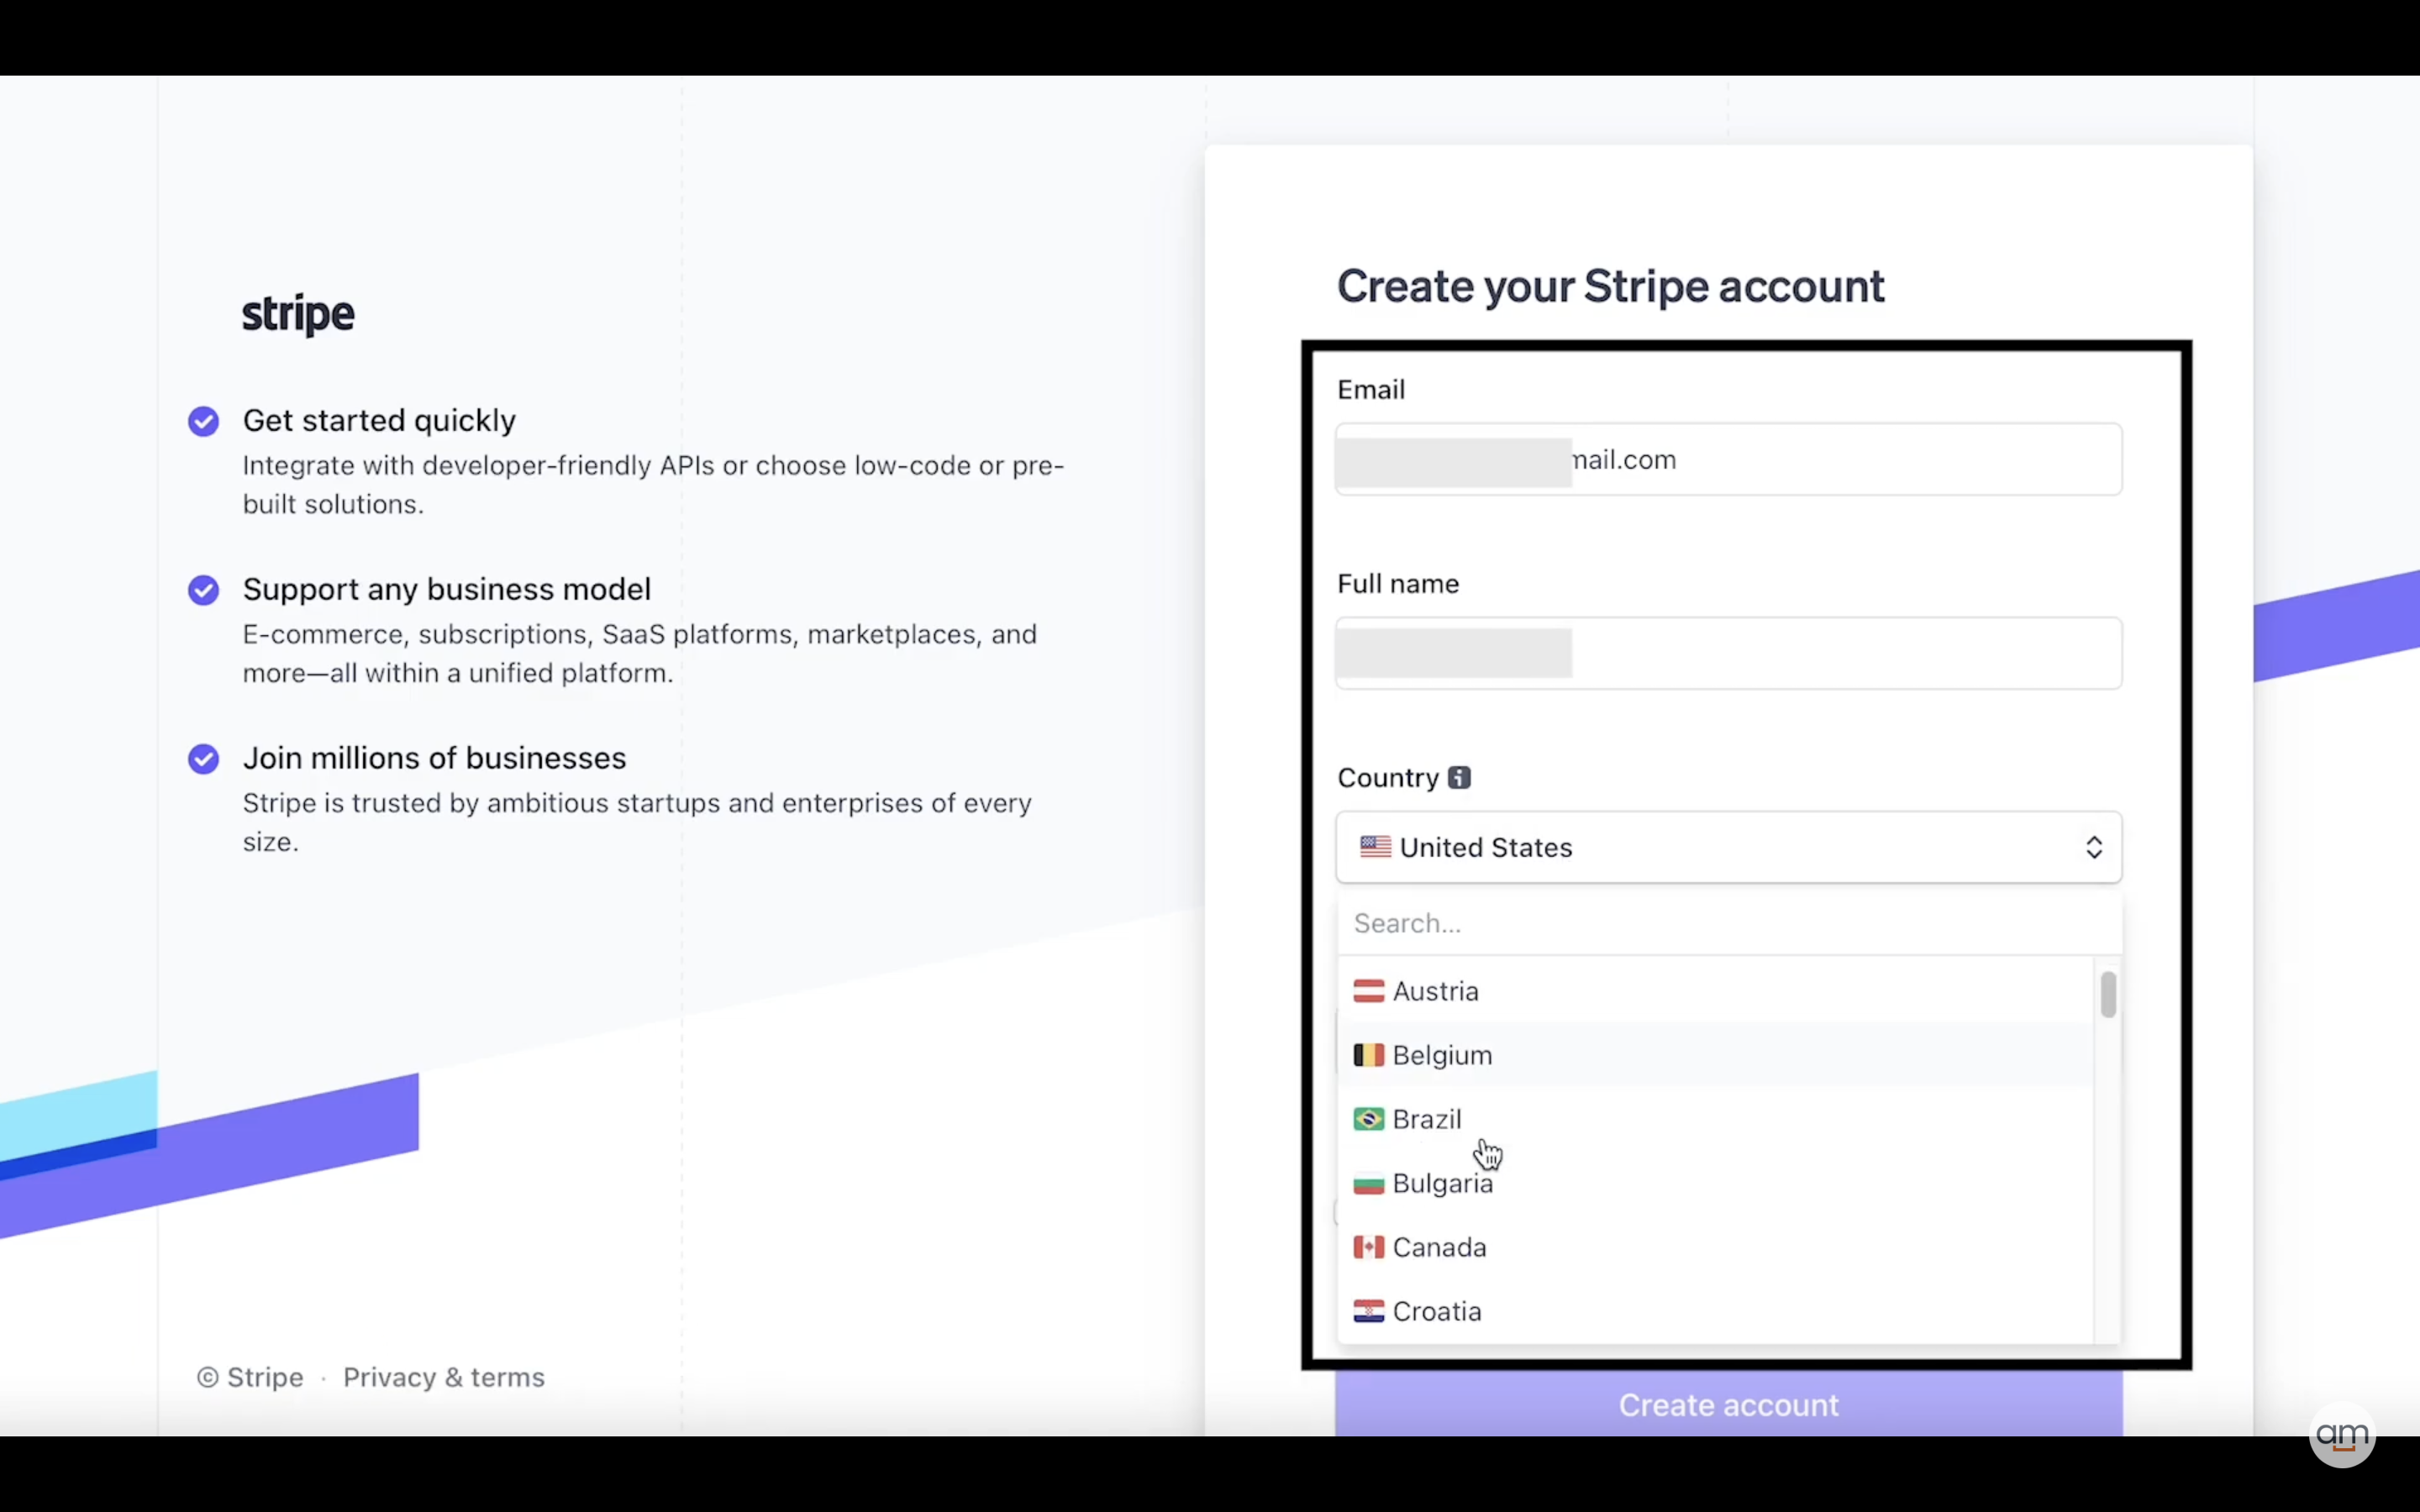
So now we enter personal data: our mail, full name, and country and come up with a password

- Email verification
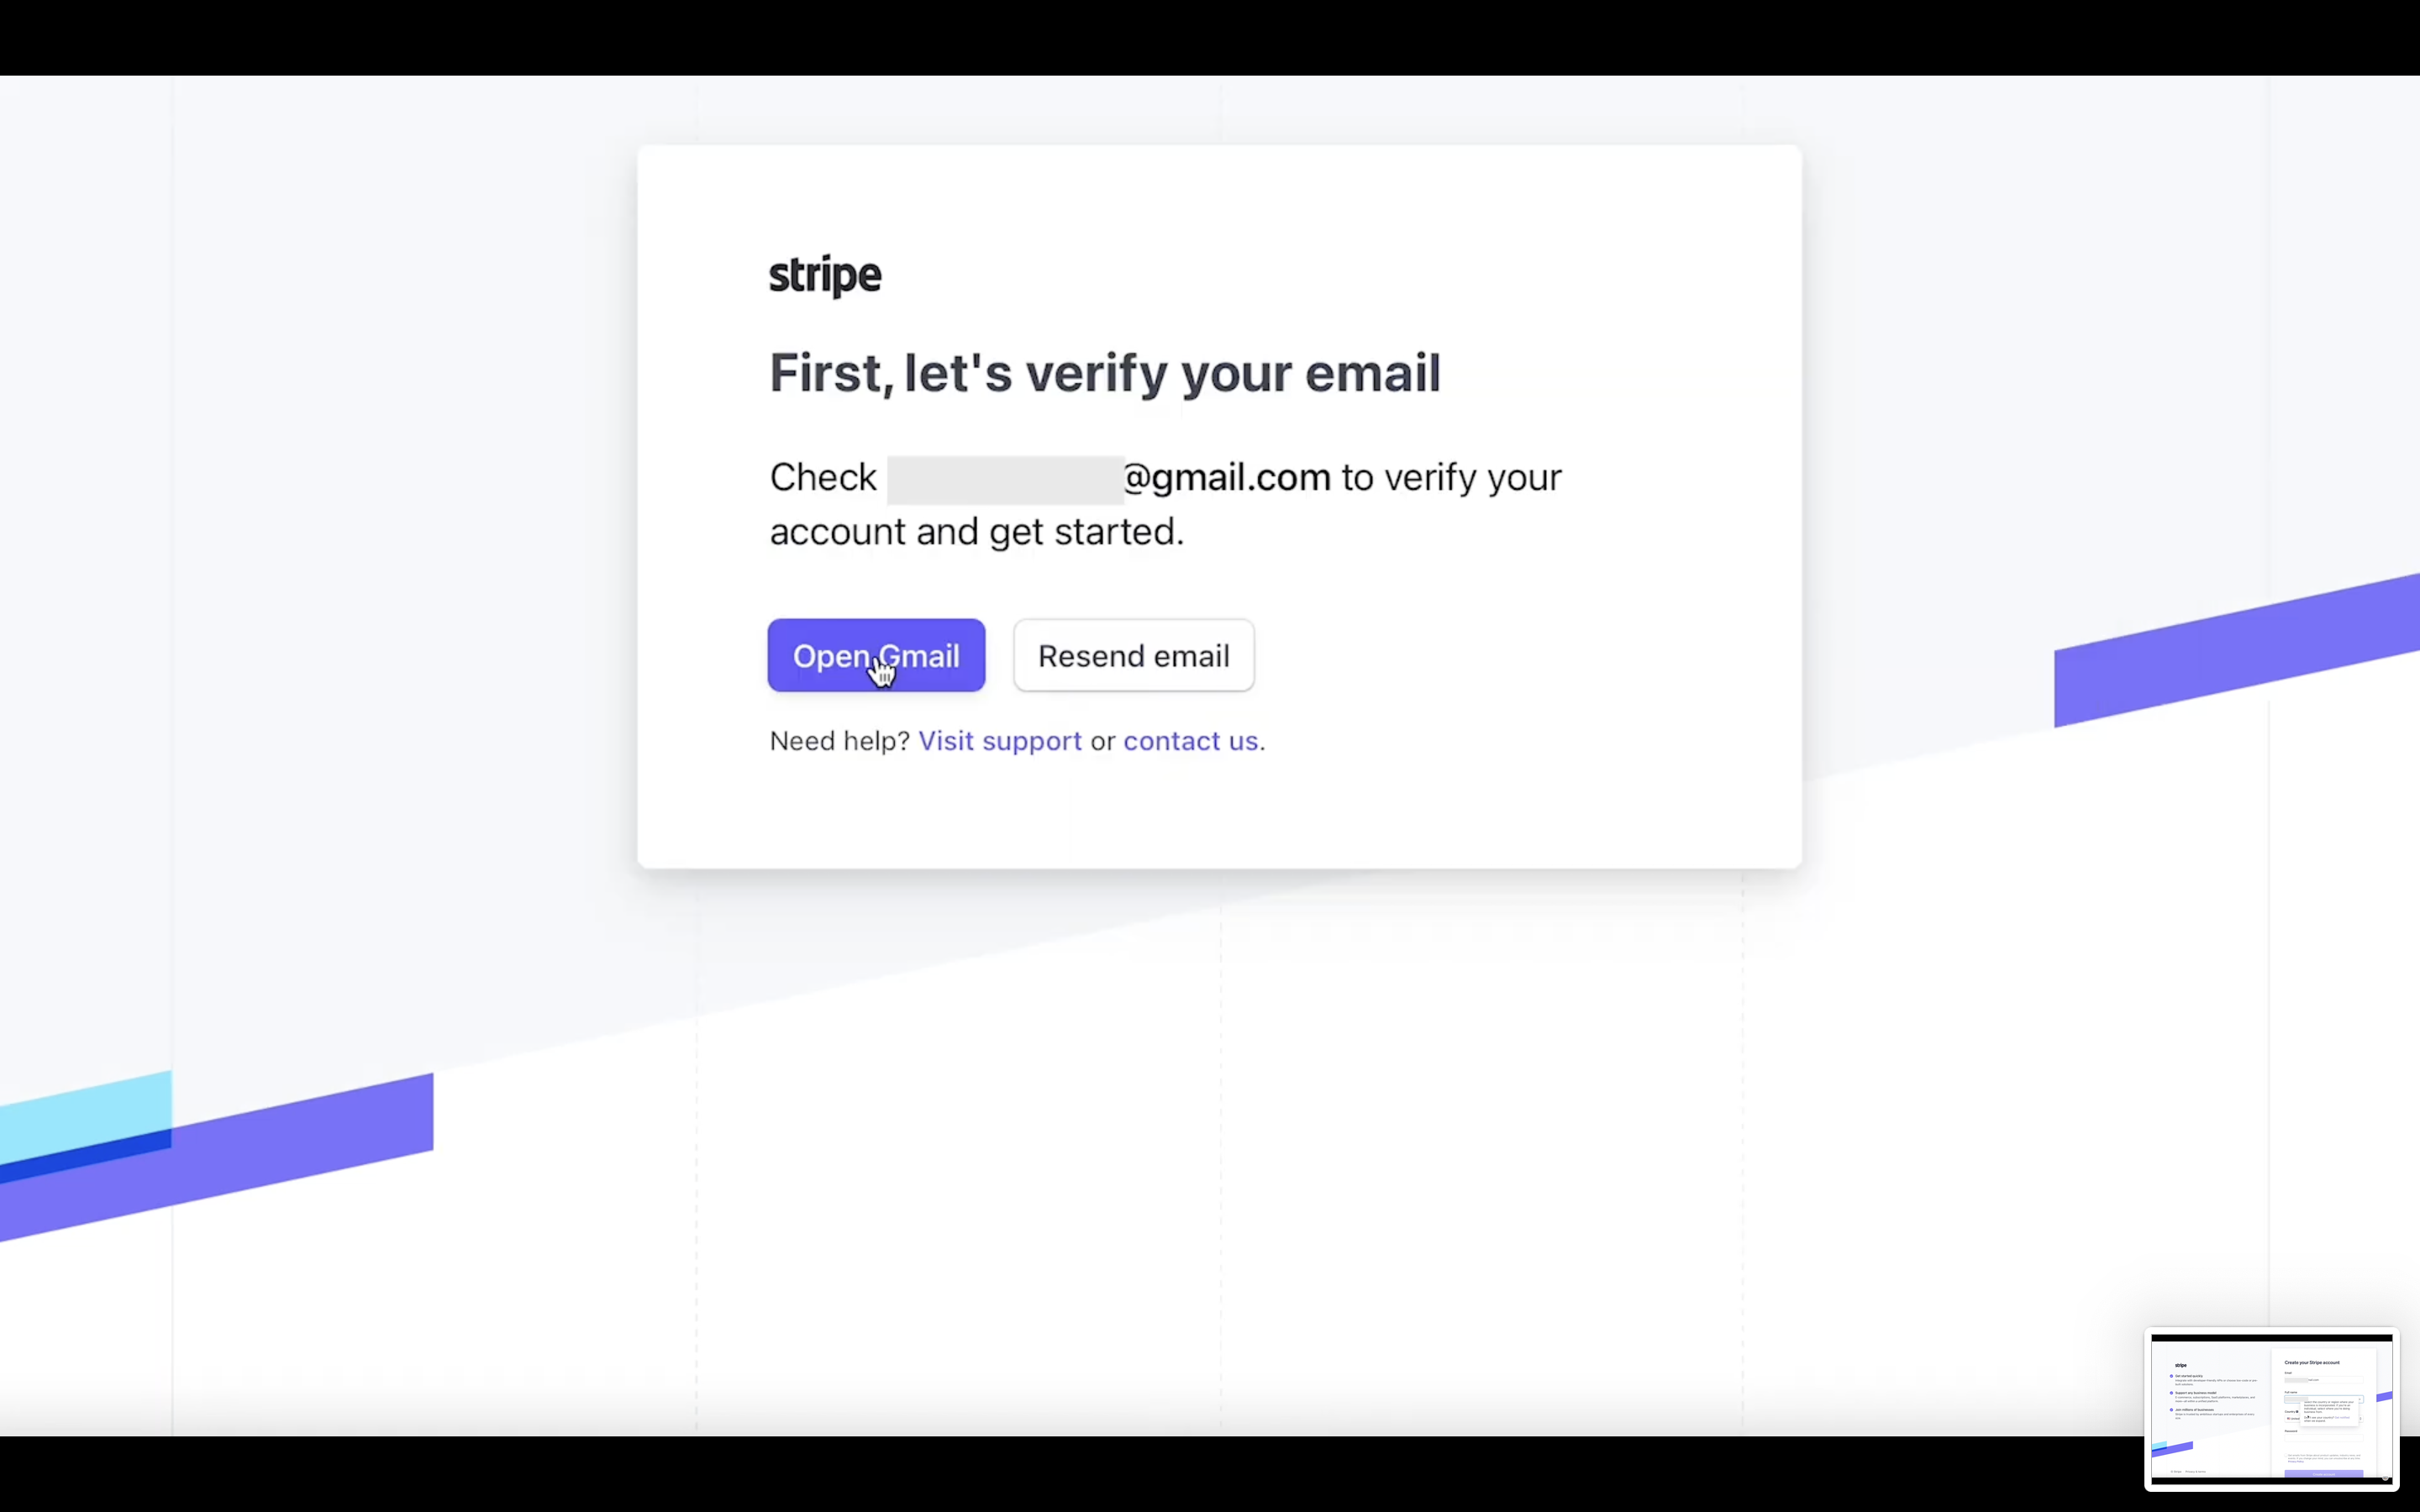
Then we will verify the email.
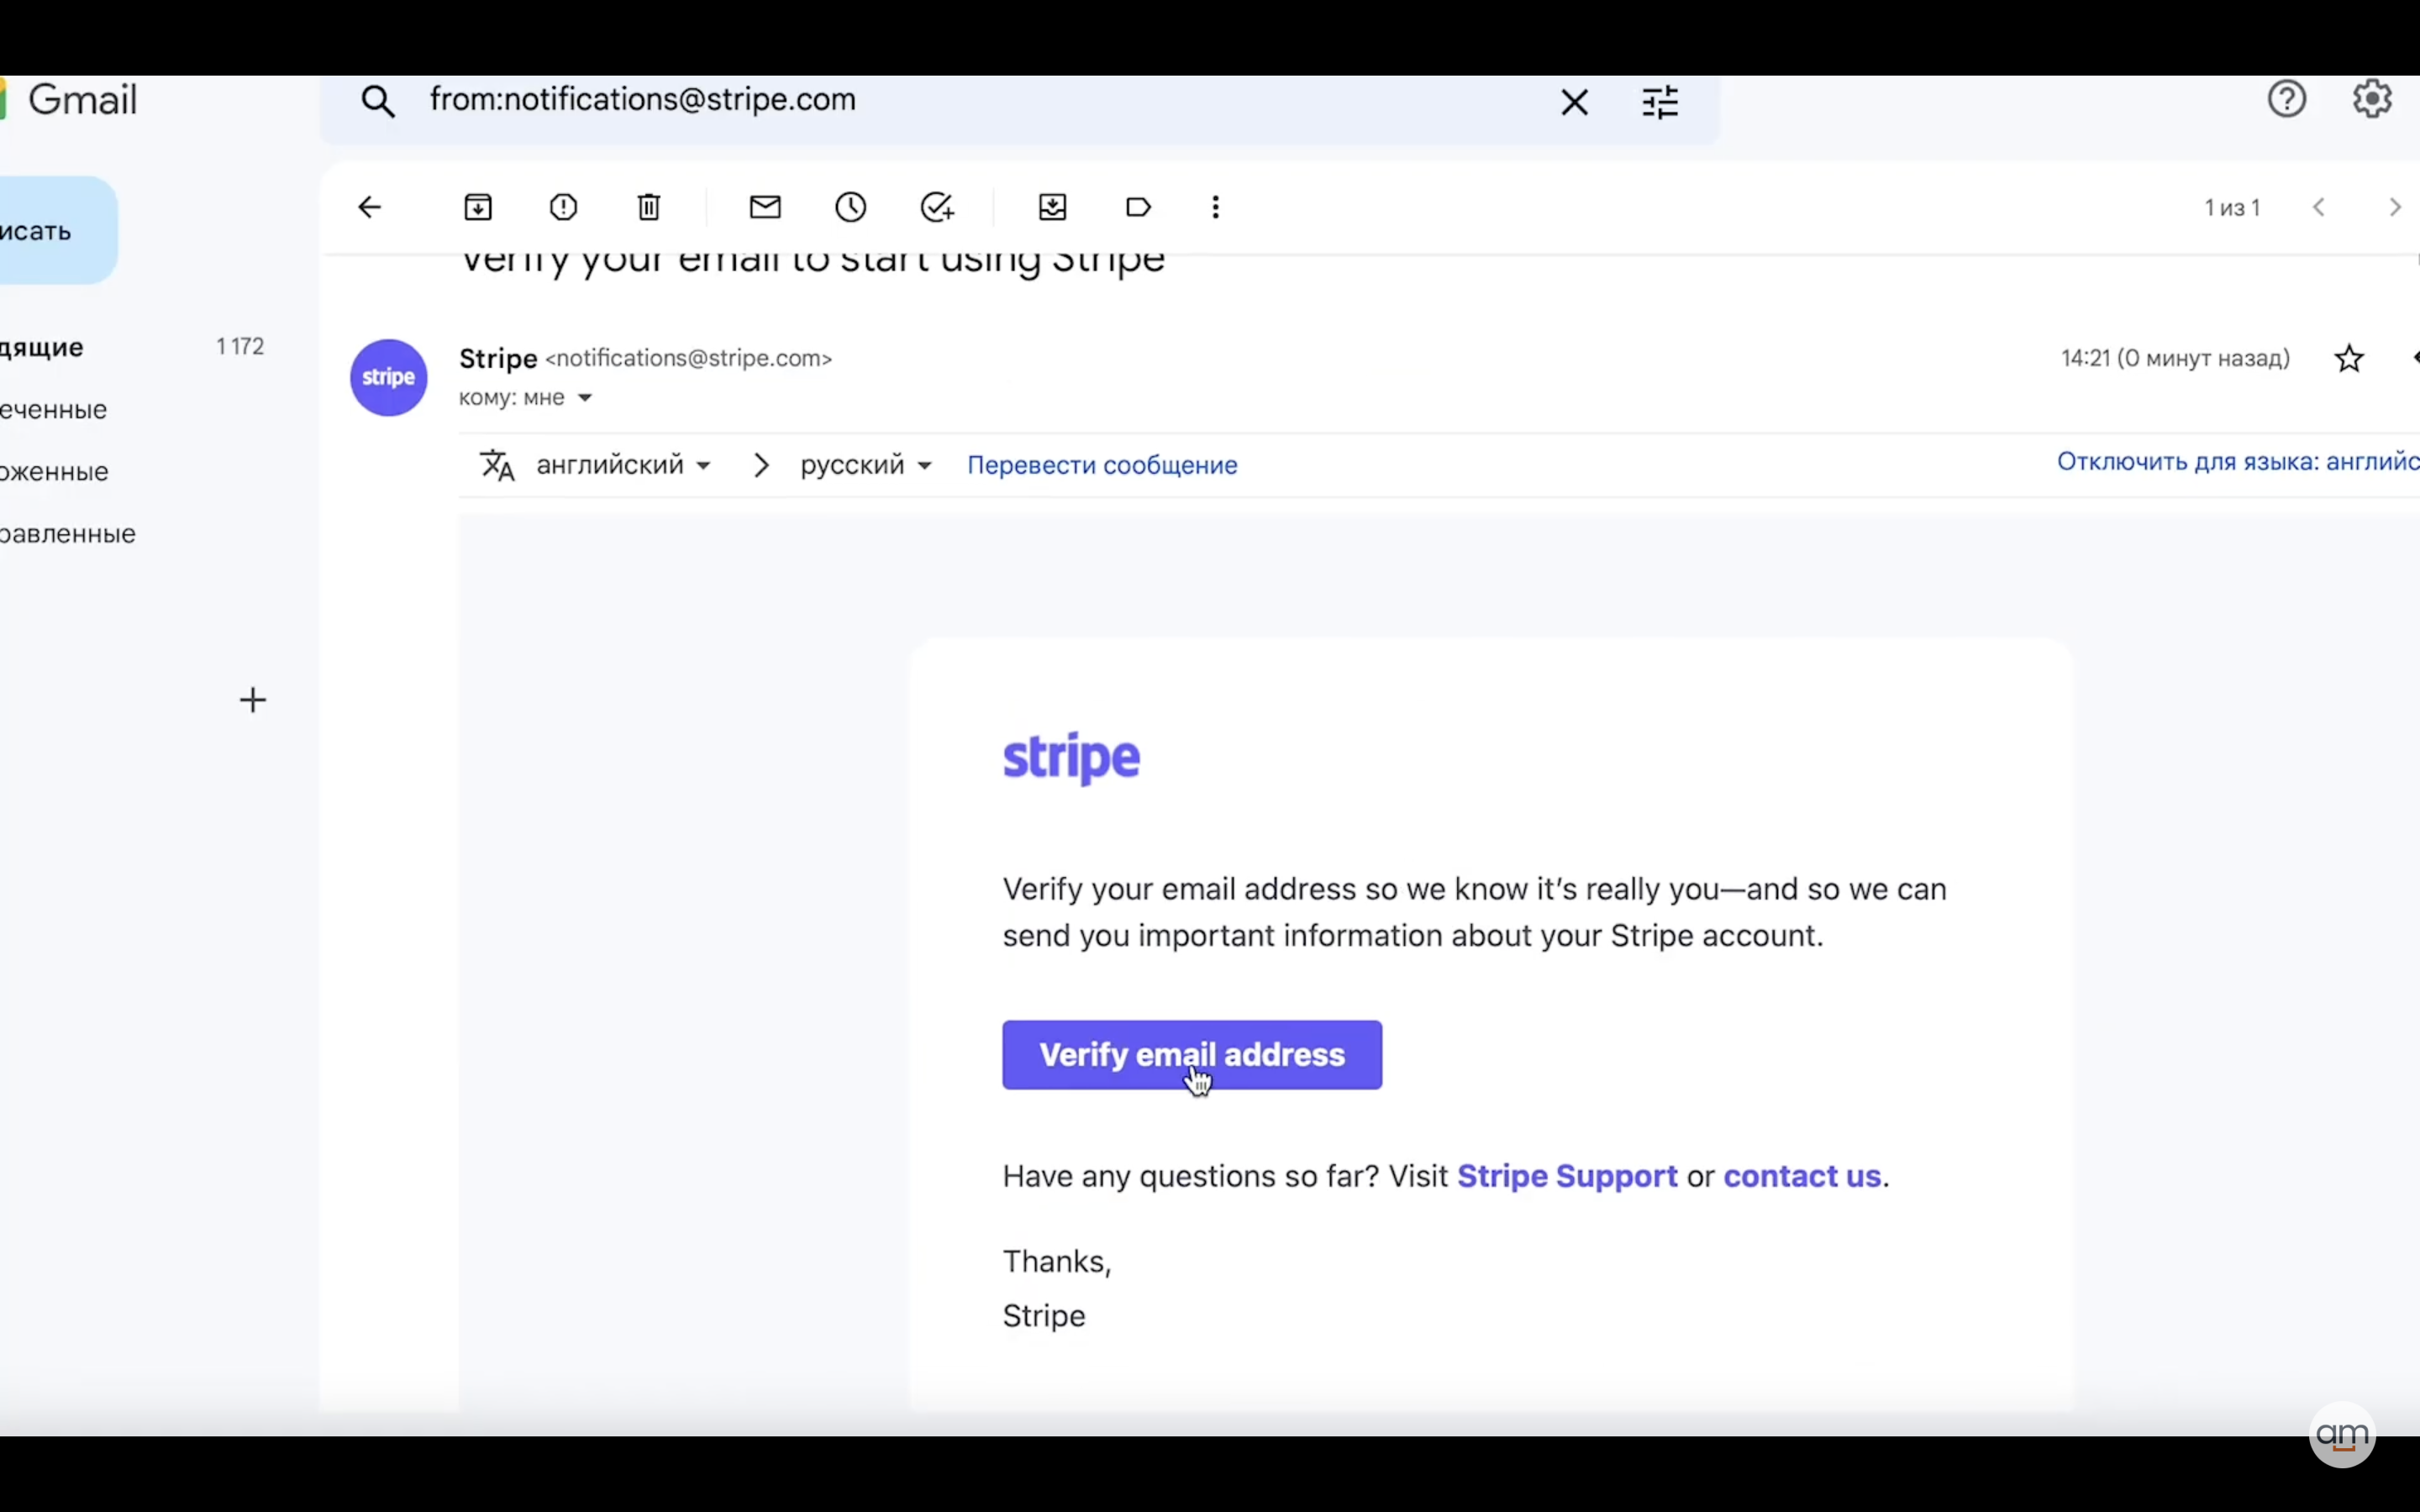
Just verify the mail by clicking and continuing registration.
Fill out details
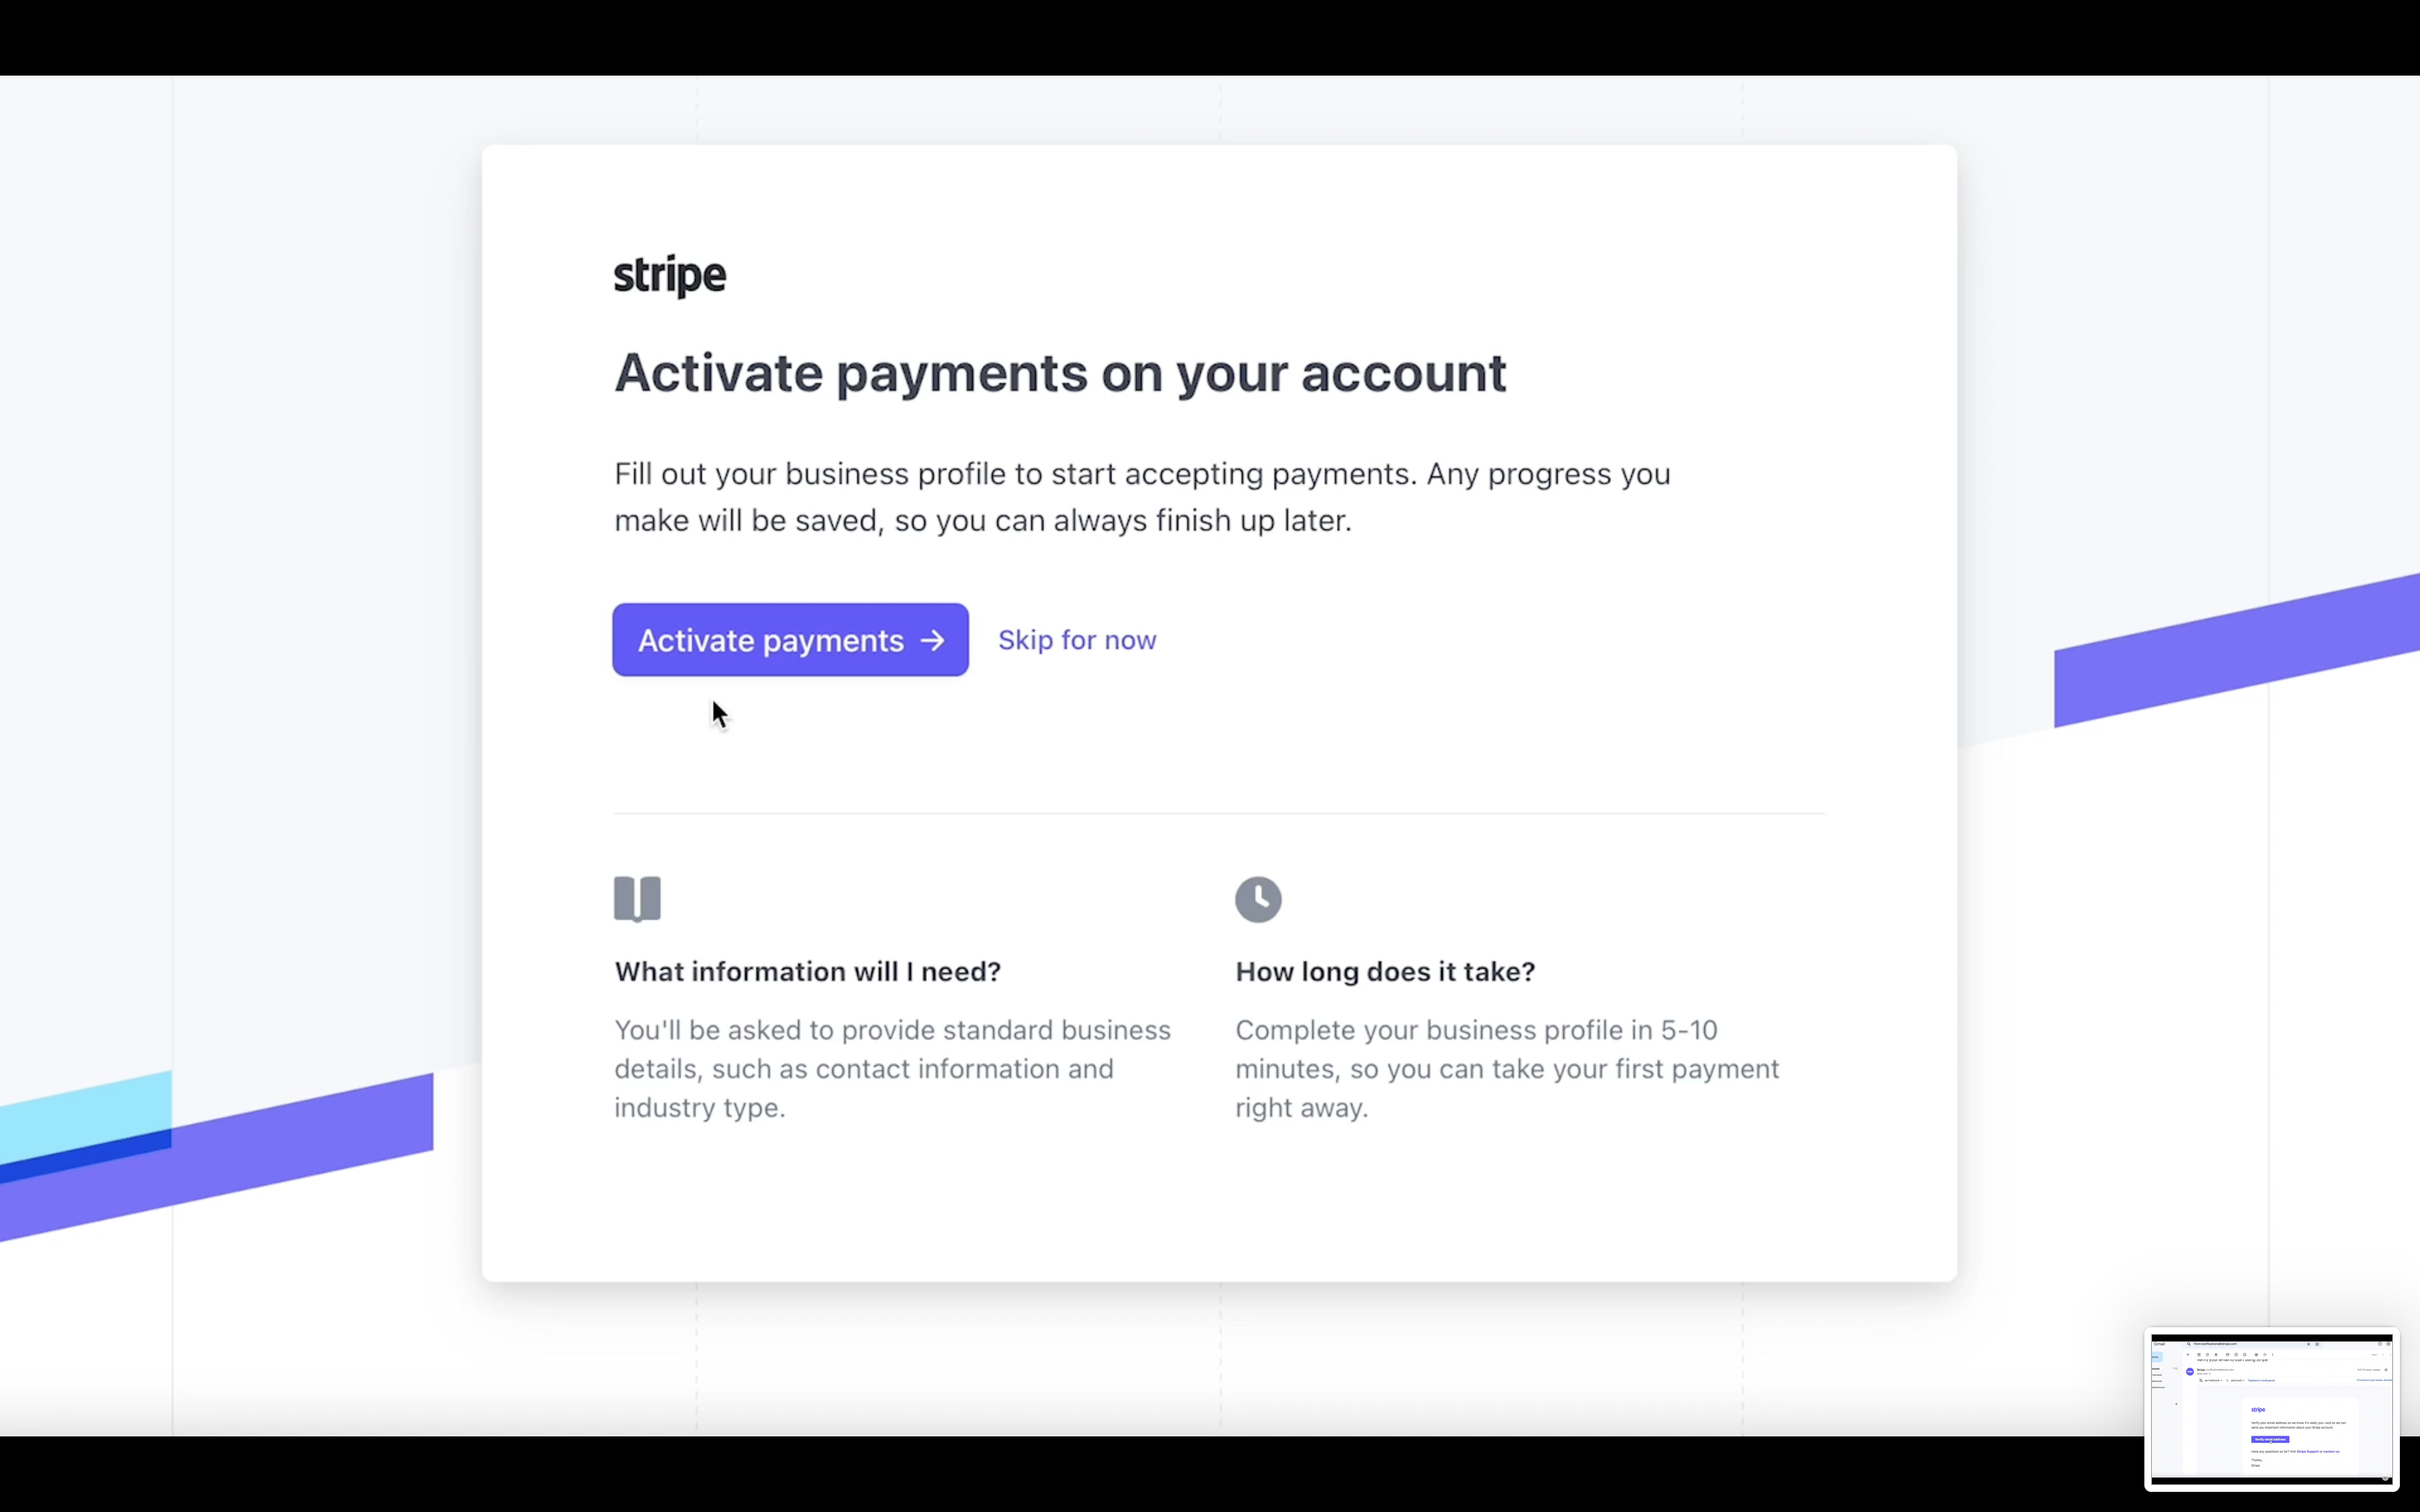
Now we move through the suggested steps of registration to activate payments on your account.
In this case, we need to fill out a business profile. Any progress you make will be saved, so you can finish up later.
Click on ‘Activate payments’ and let’s start the party 🙂
Let’s start with some basics.
Verify your business
Choose your location and business type to get started.
Here are several business types you can choose:
- Company
- Individual
- Nonprofit organization
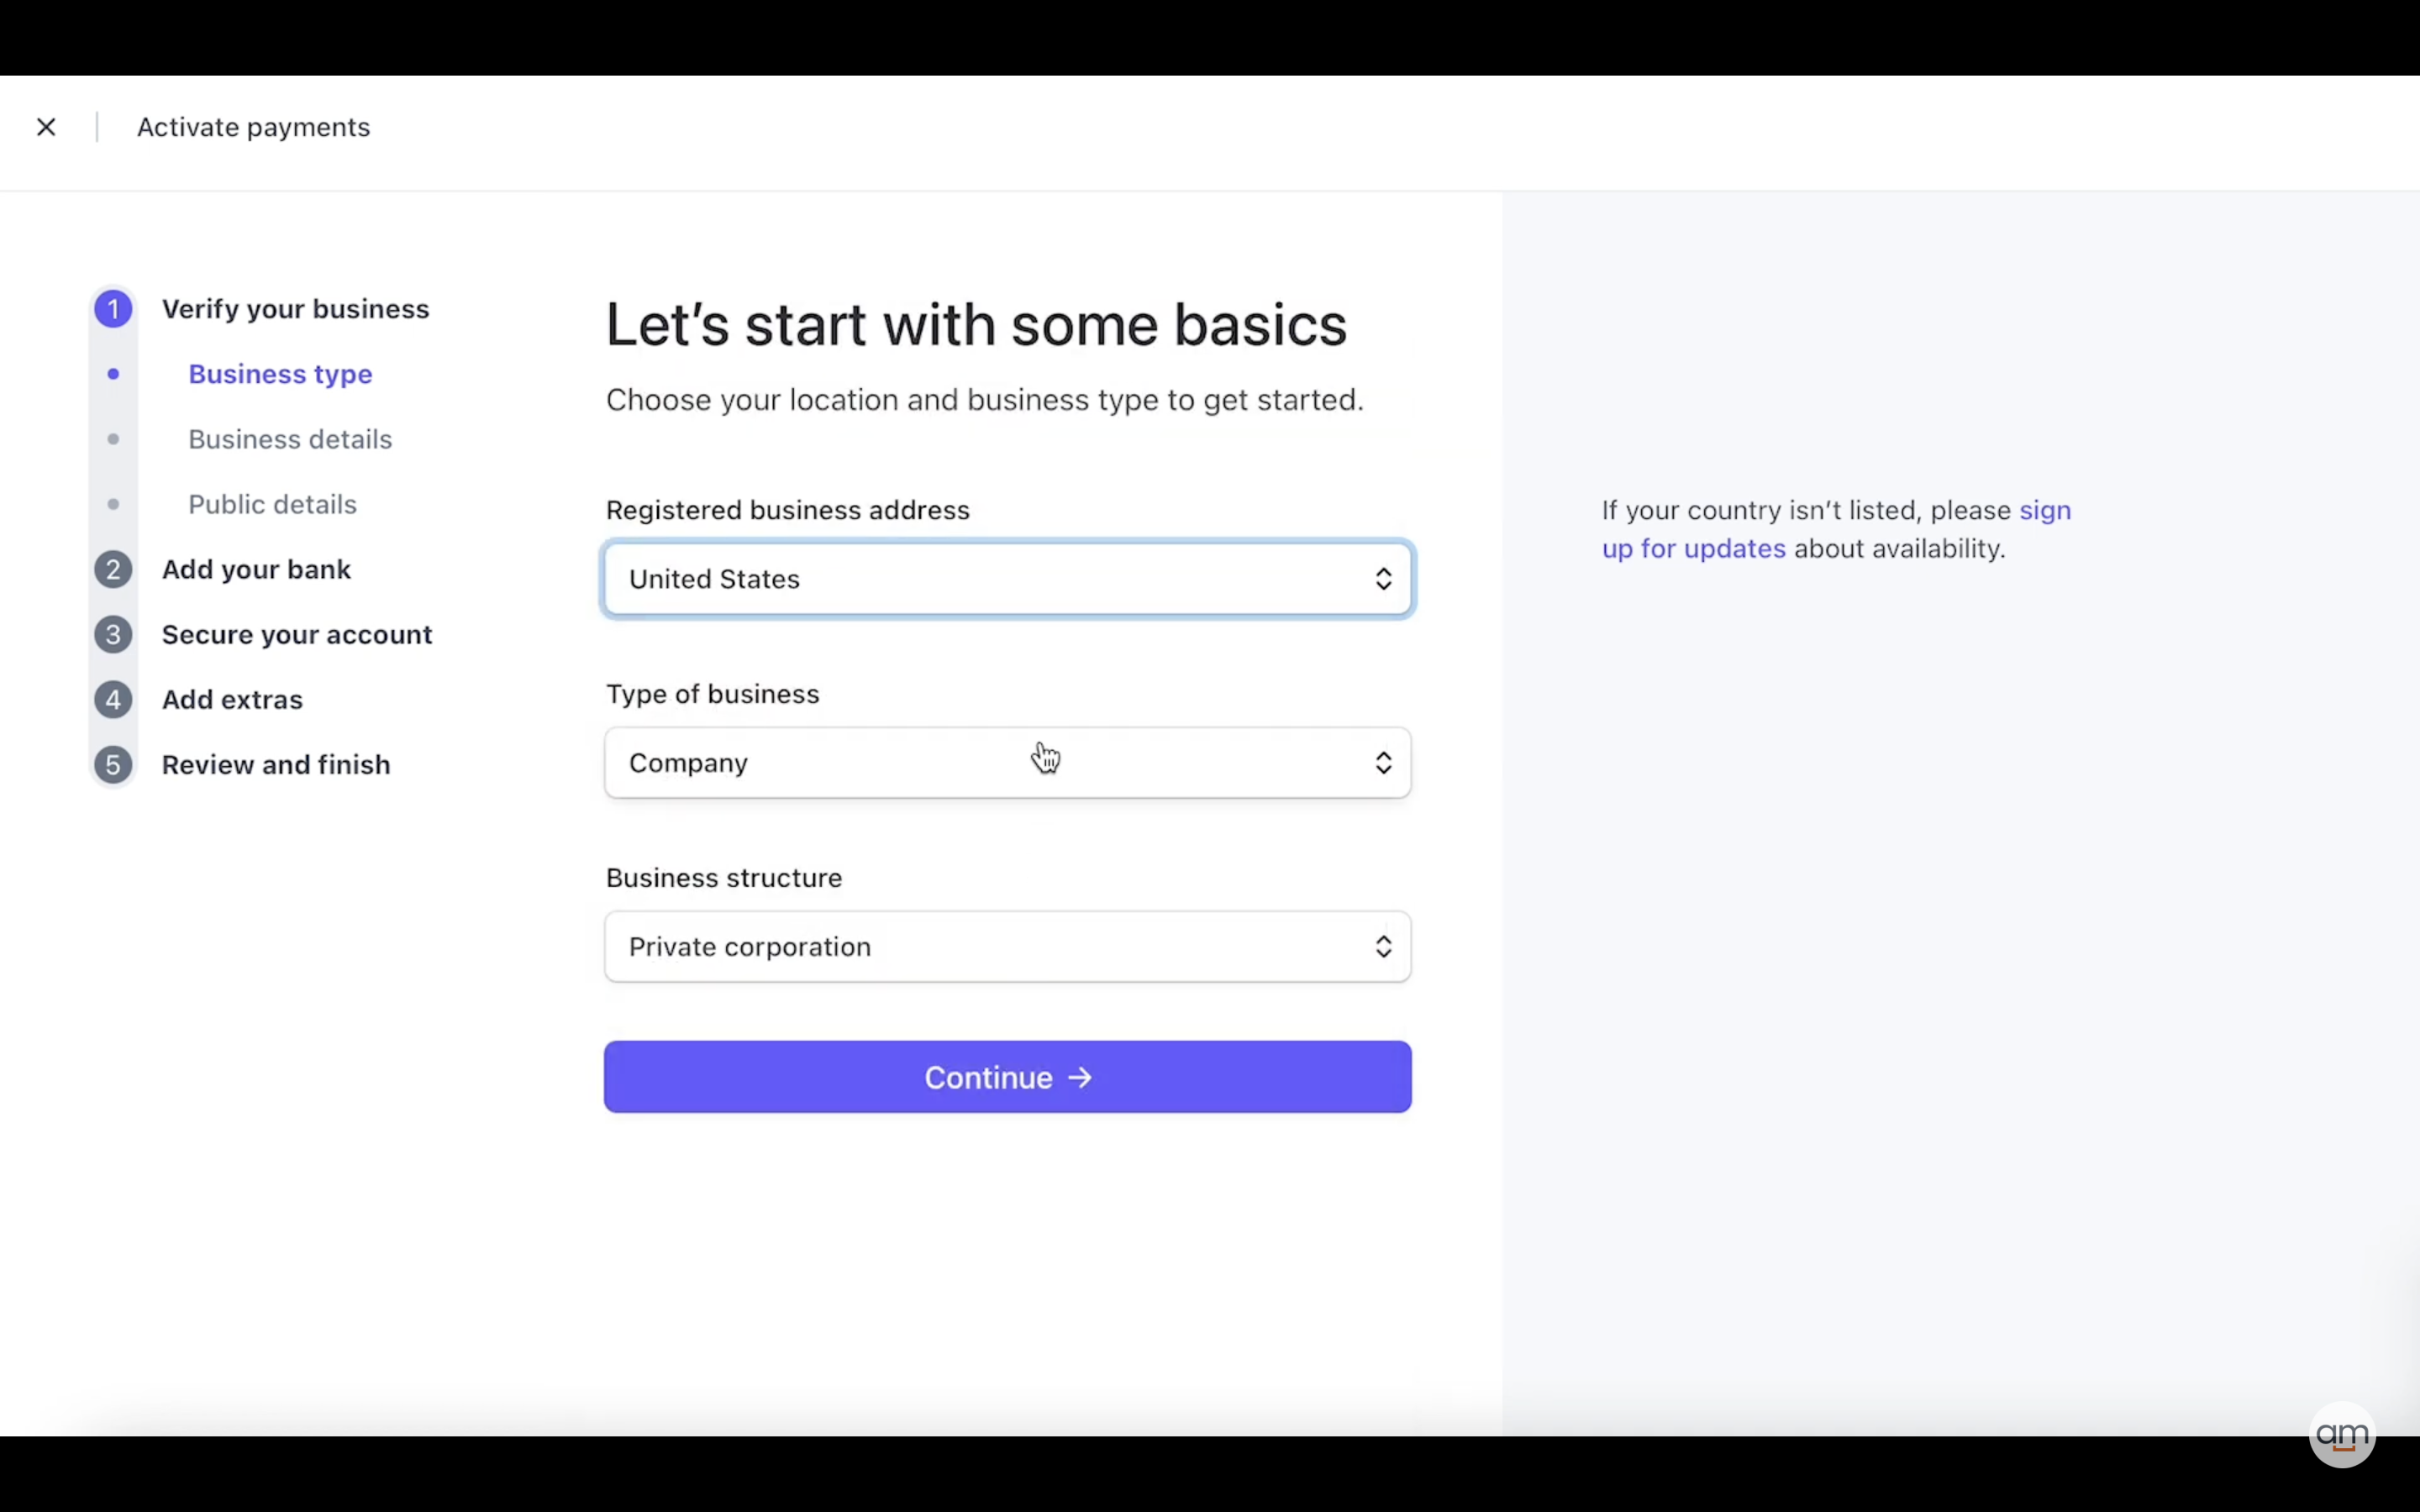
In most cases people sign up for Stripe as an individual, so we’ll lead you through this guide for individuals. If you register as a company, you will need to enter your company information accordingly.
- Personal details
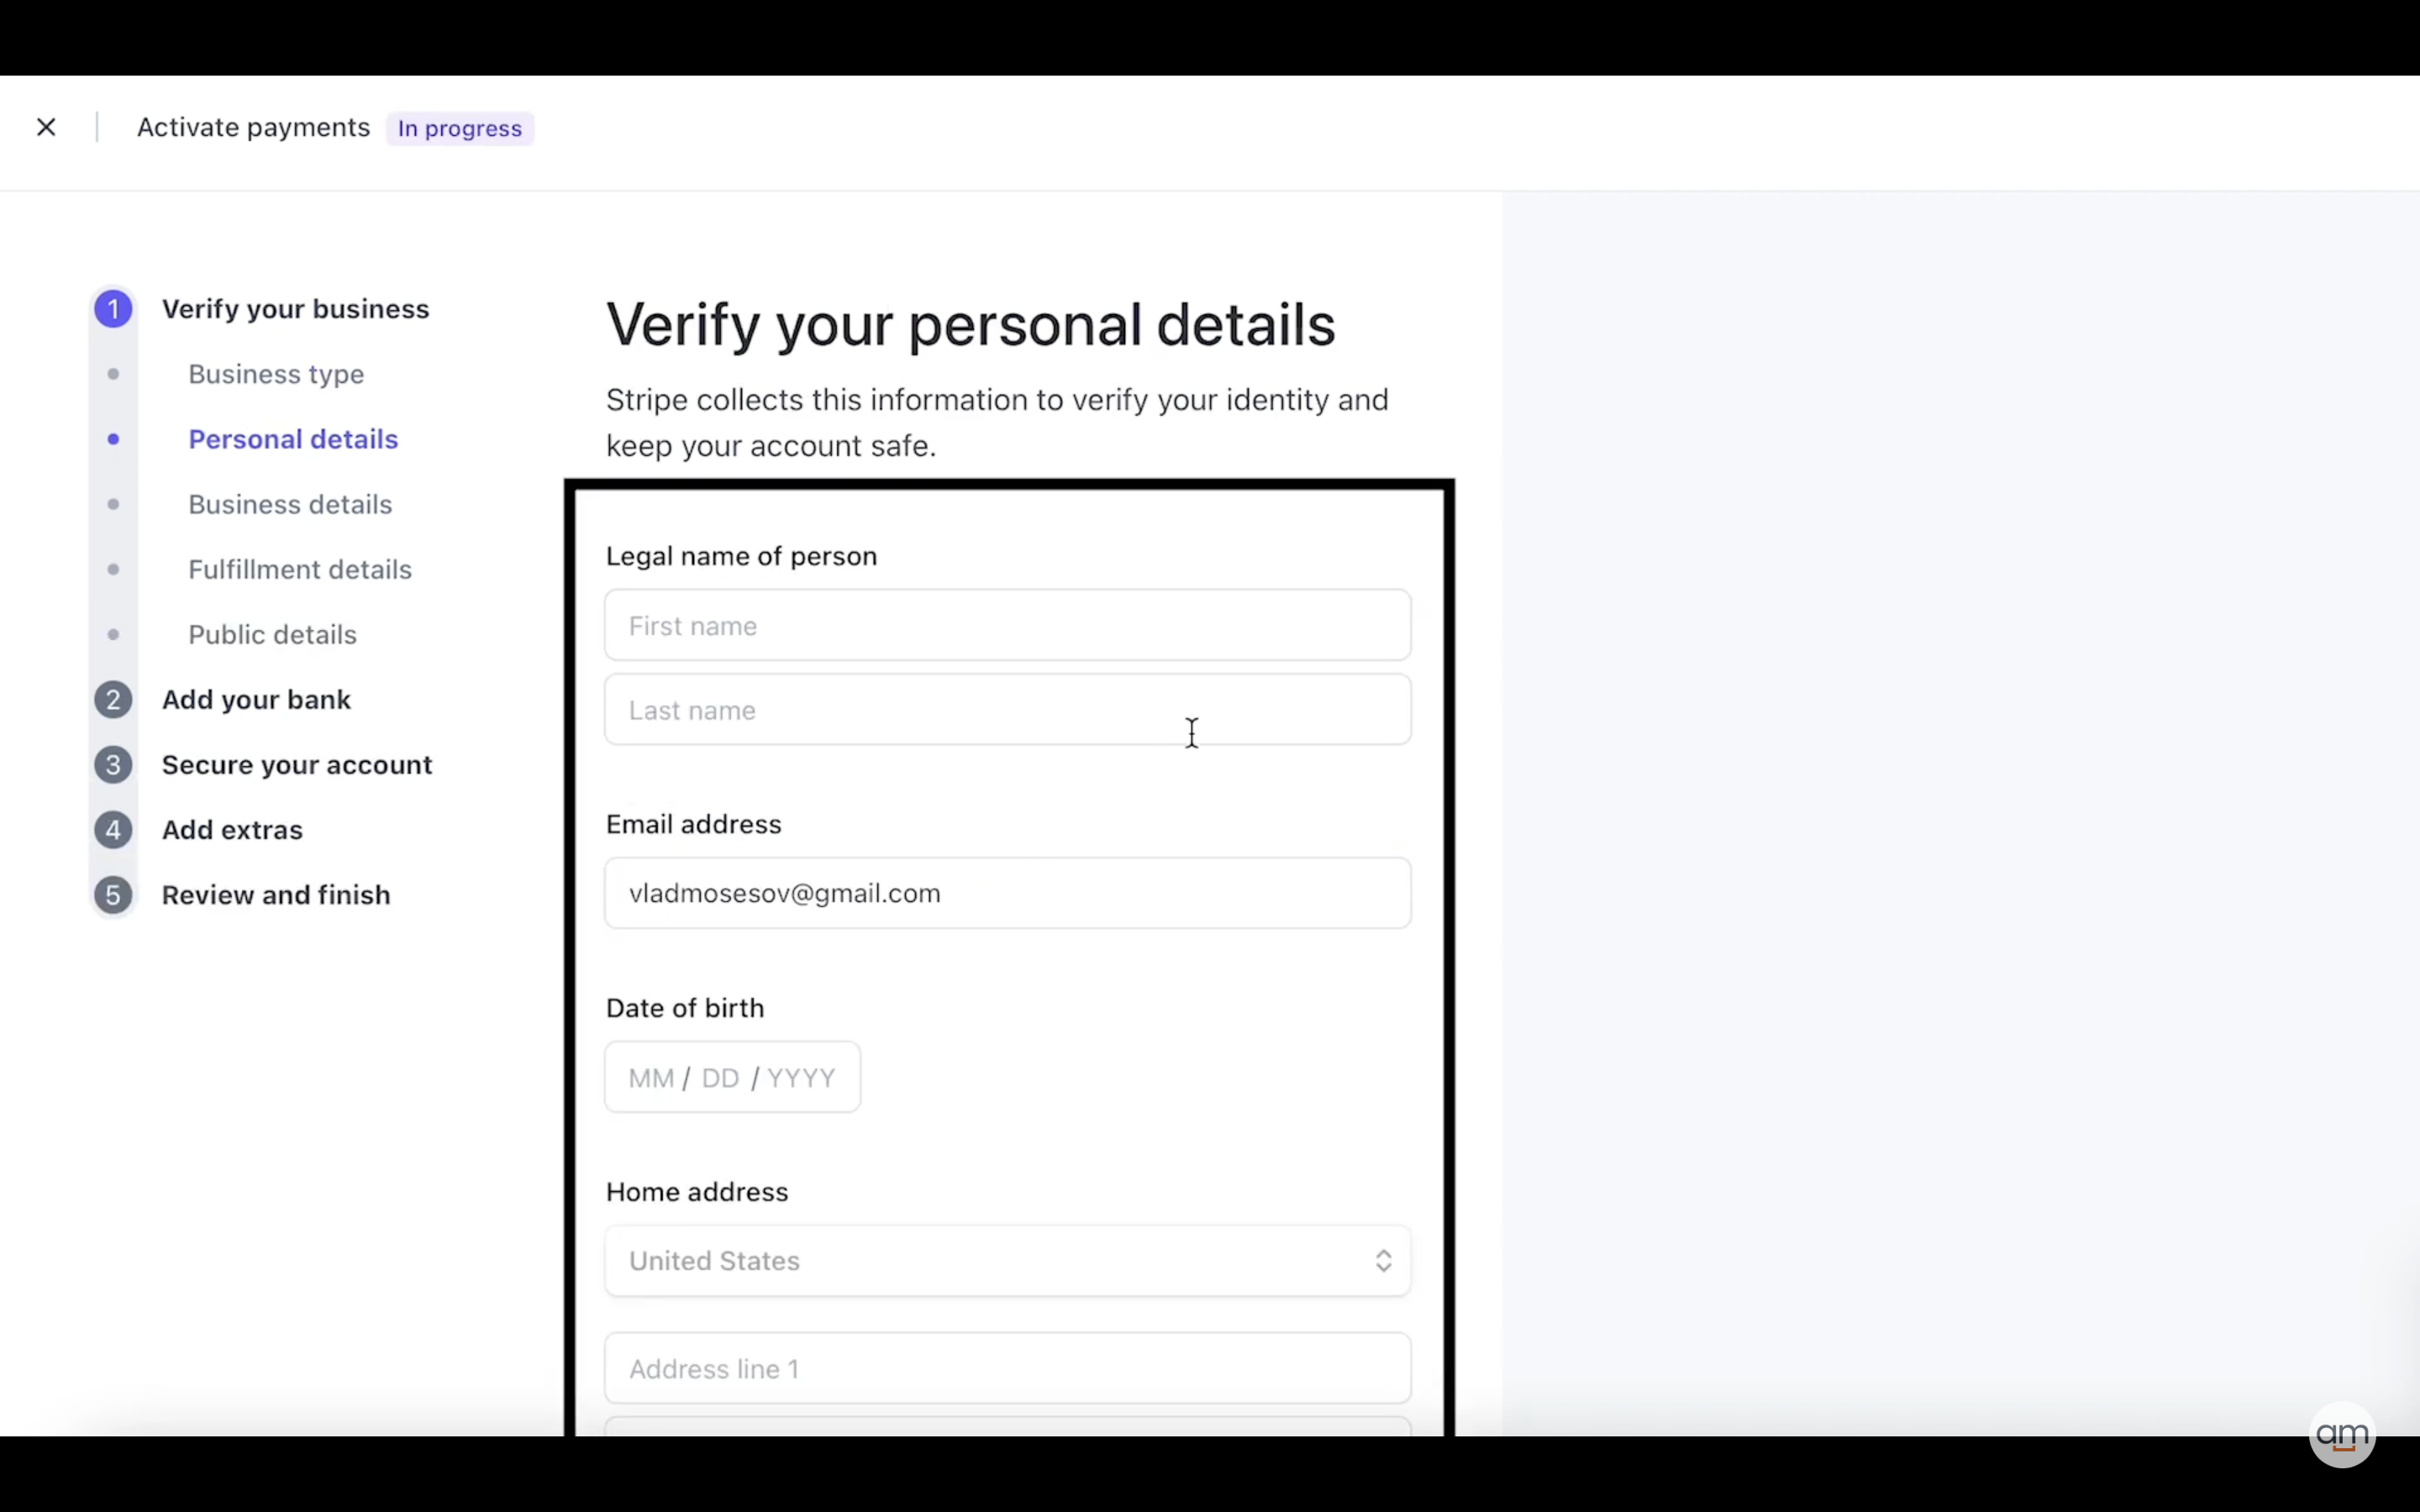
- Now it’s your turn to verify your details.
Stripe collects this information to verify your identity and keep your account safe.
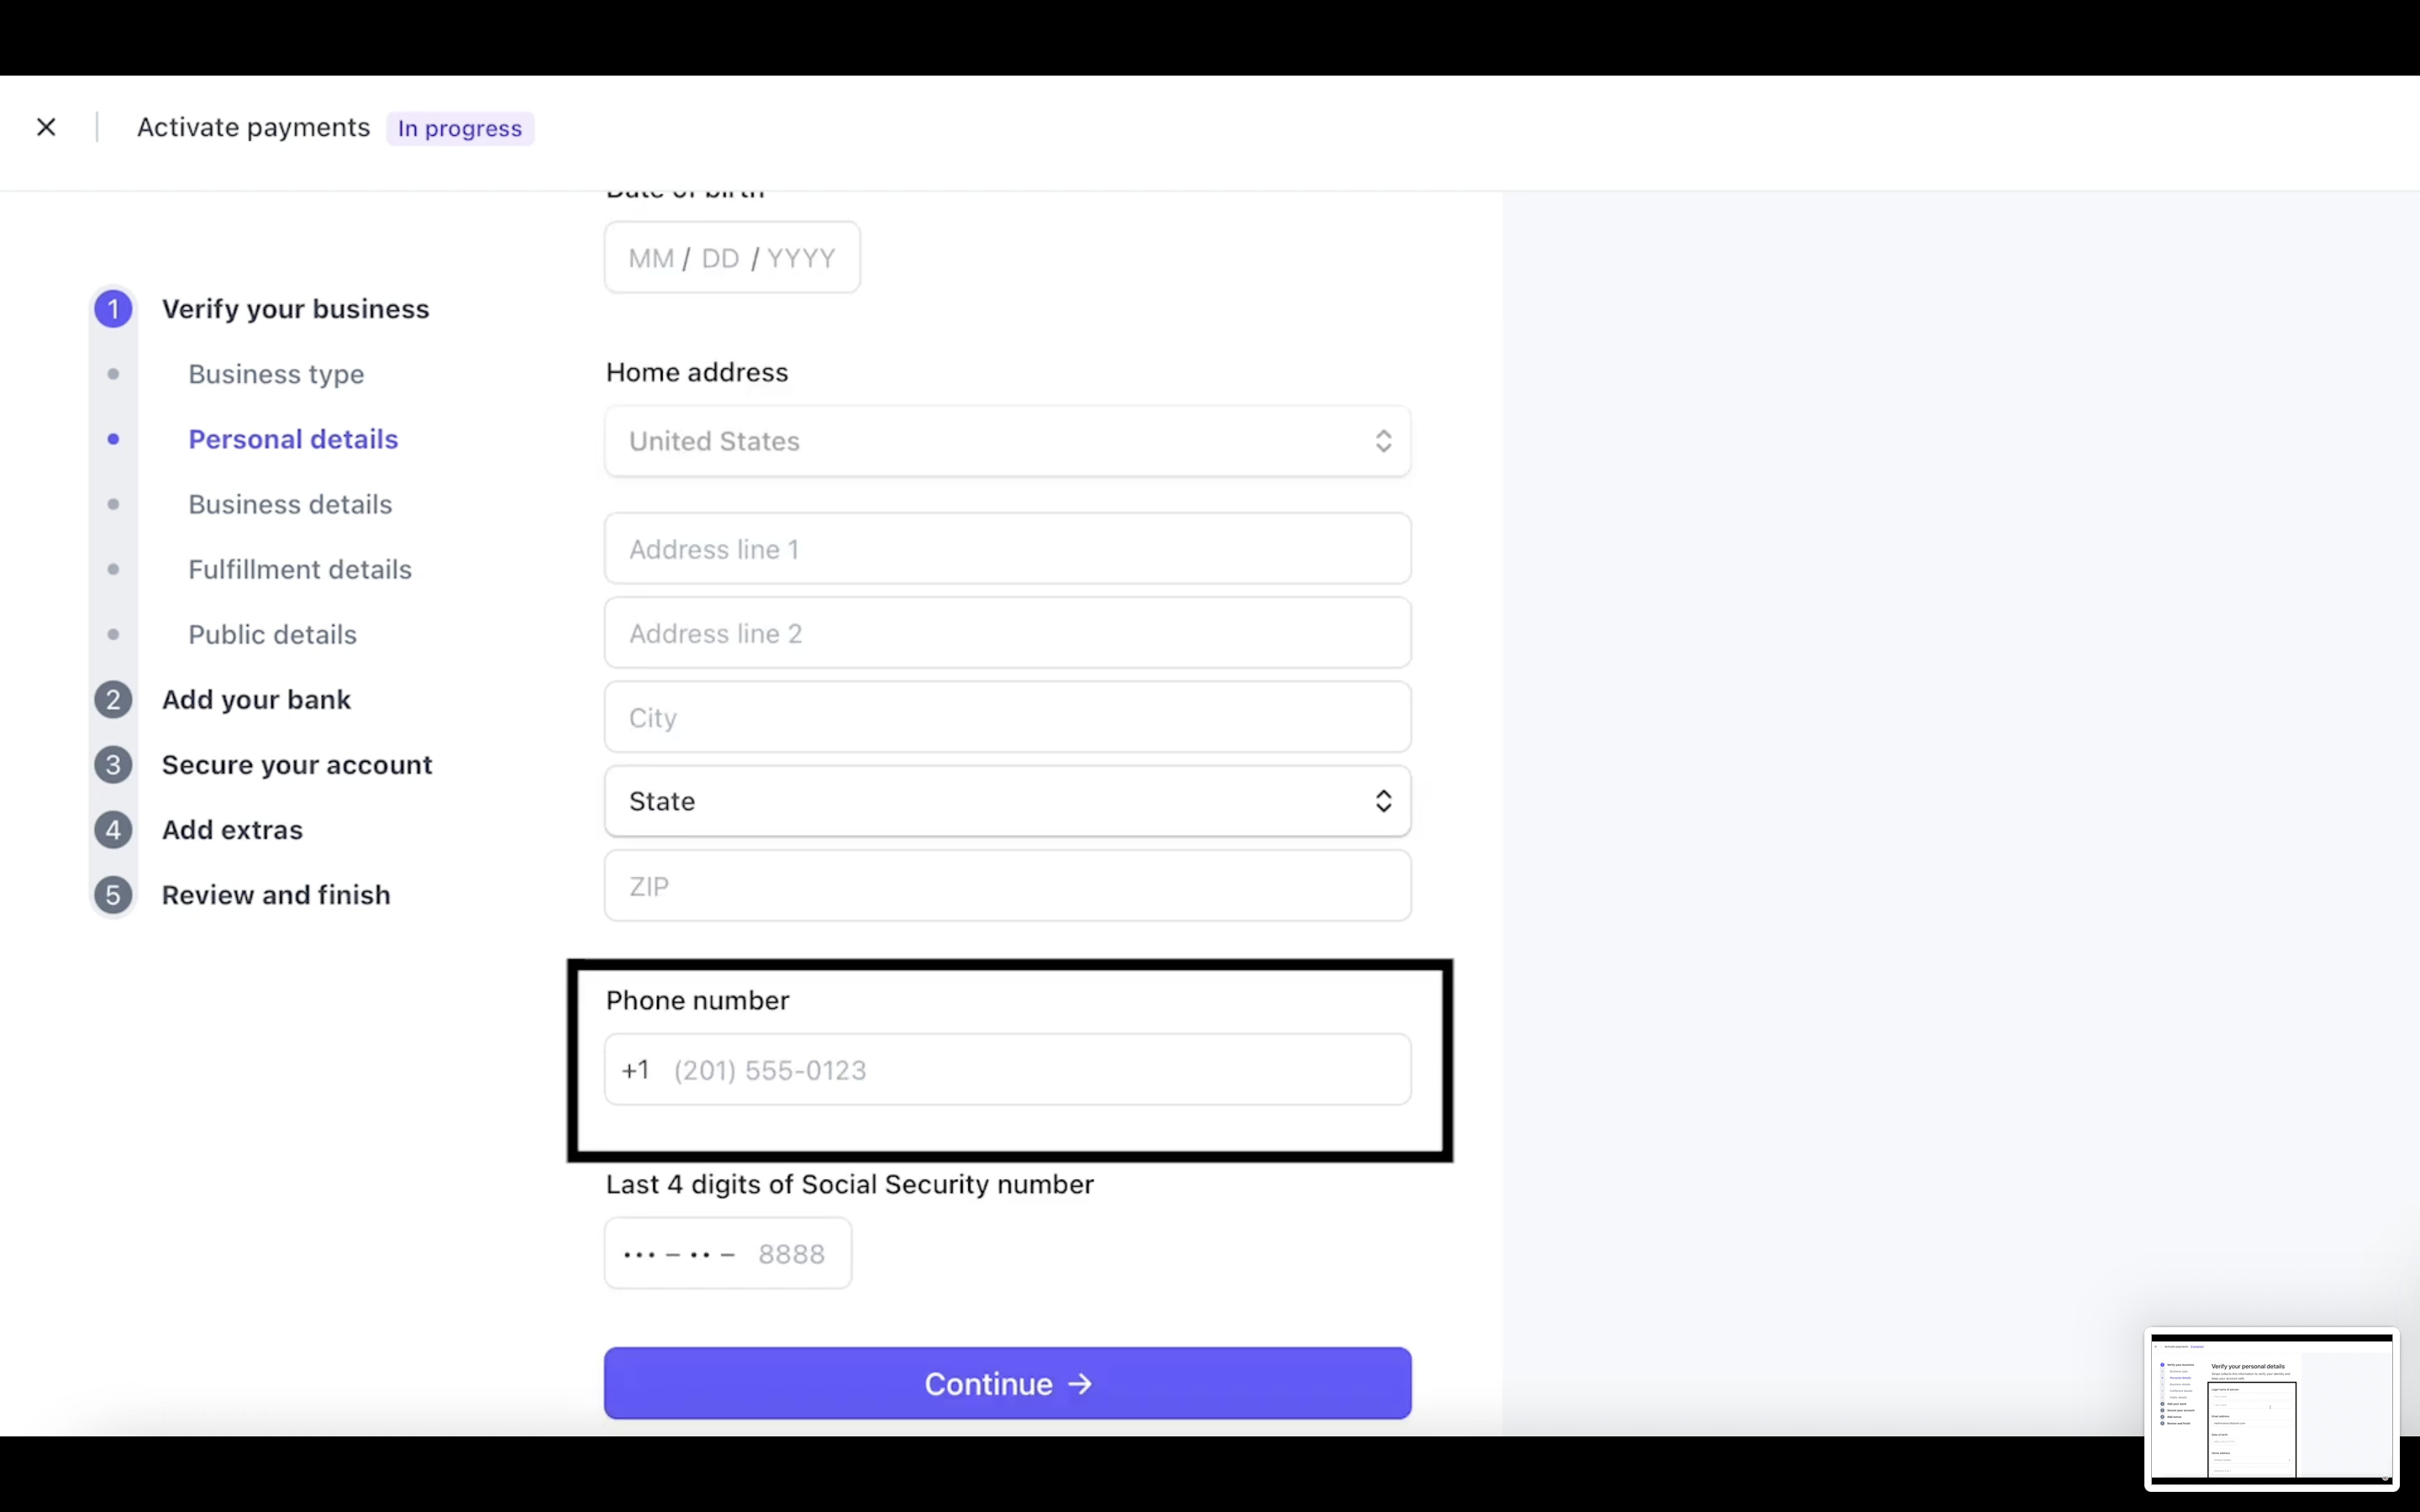
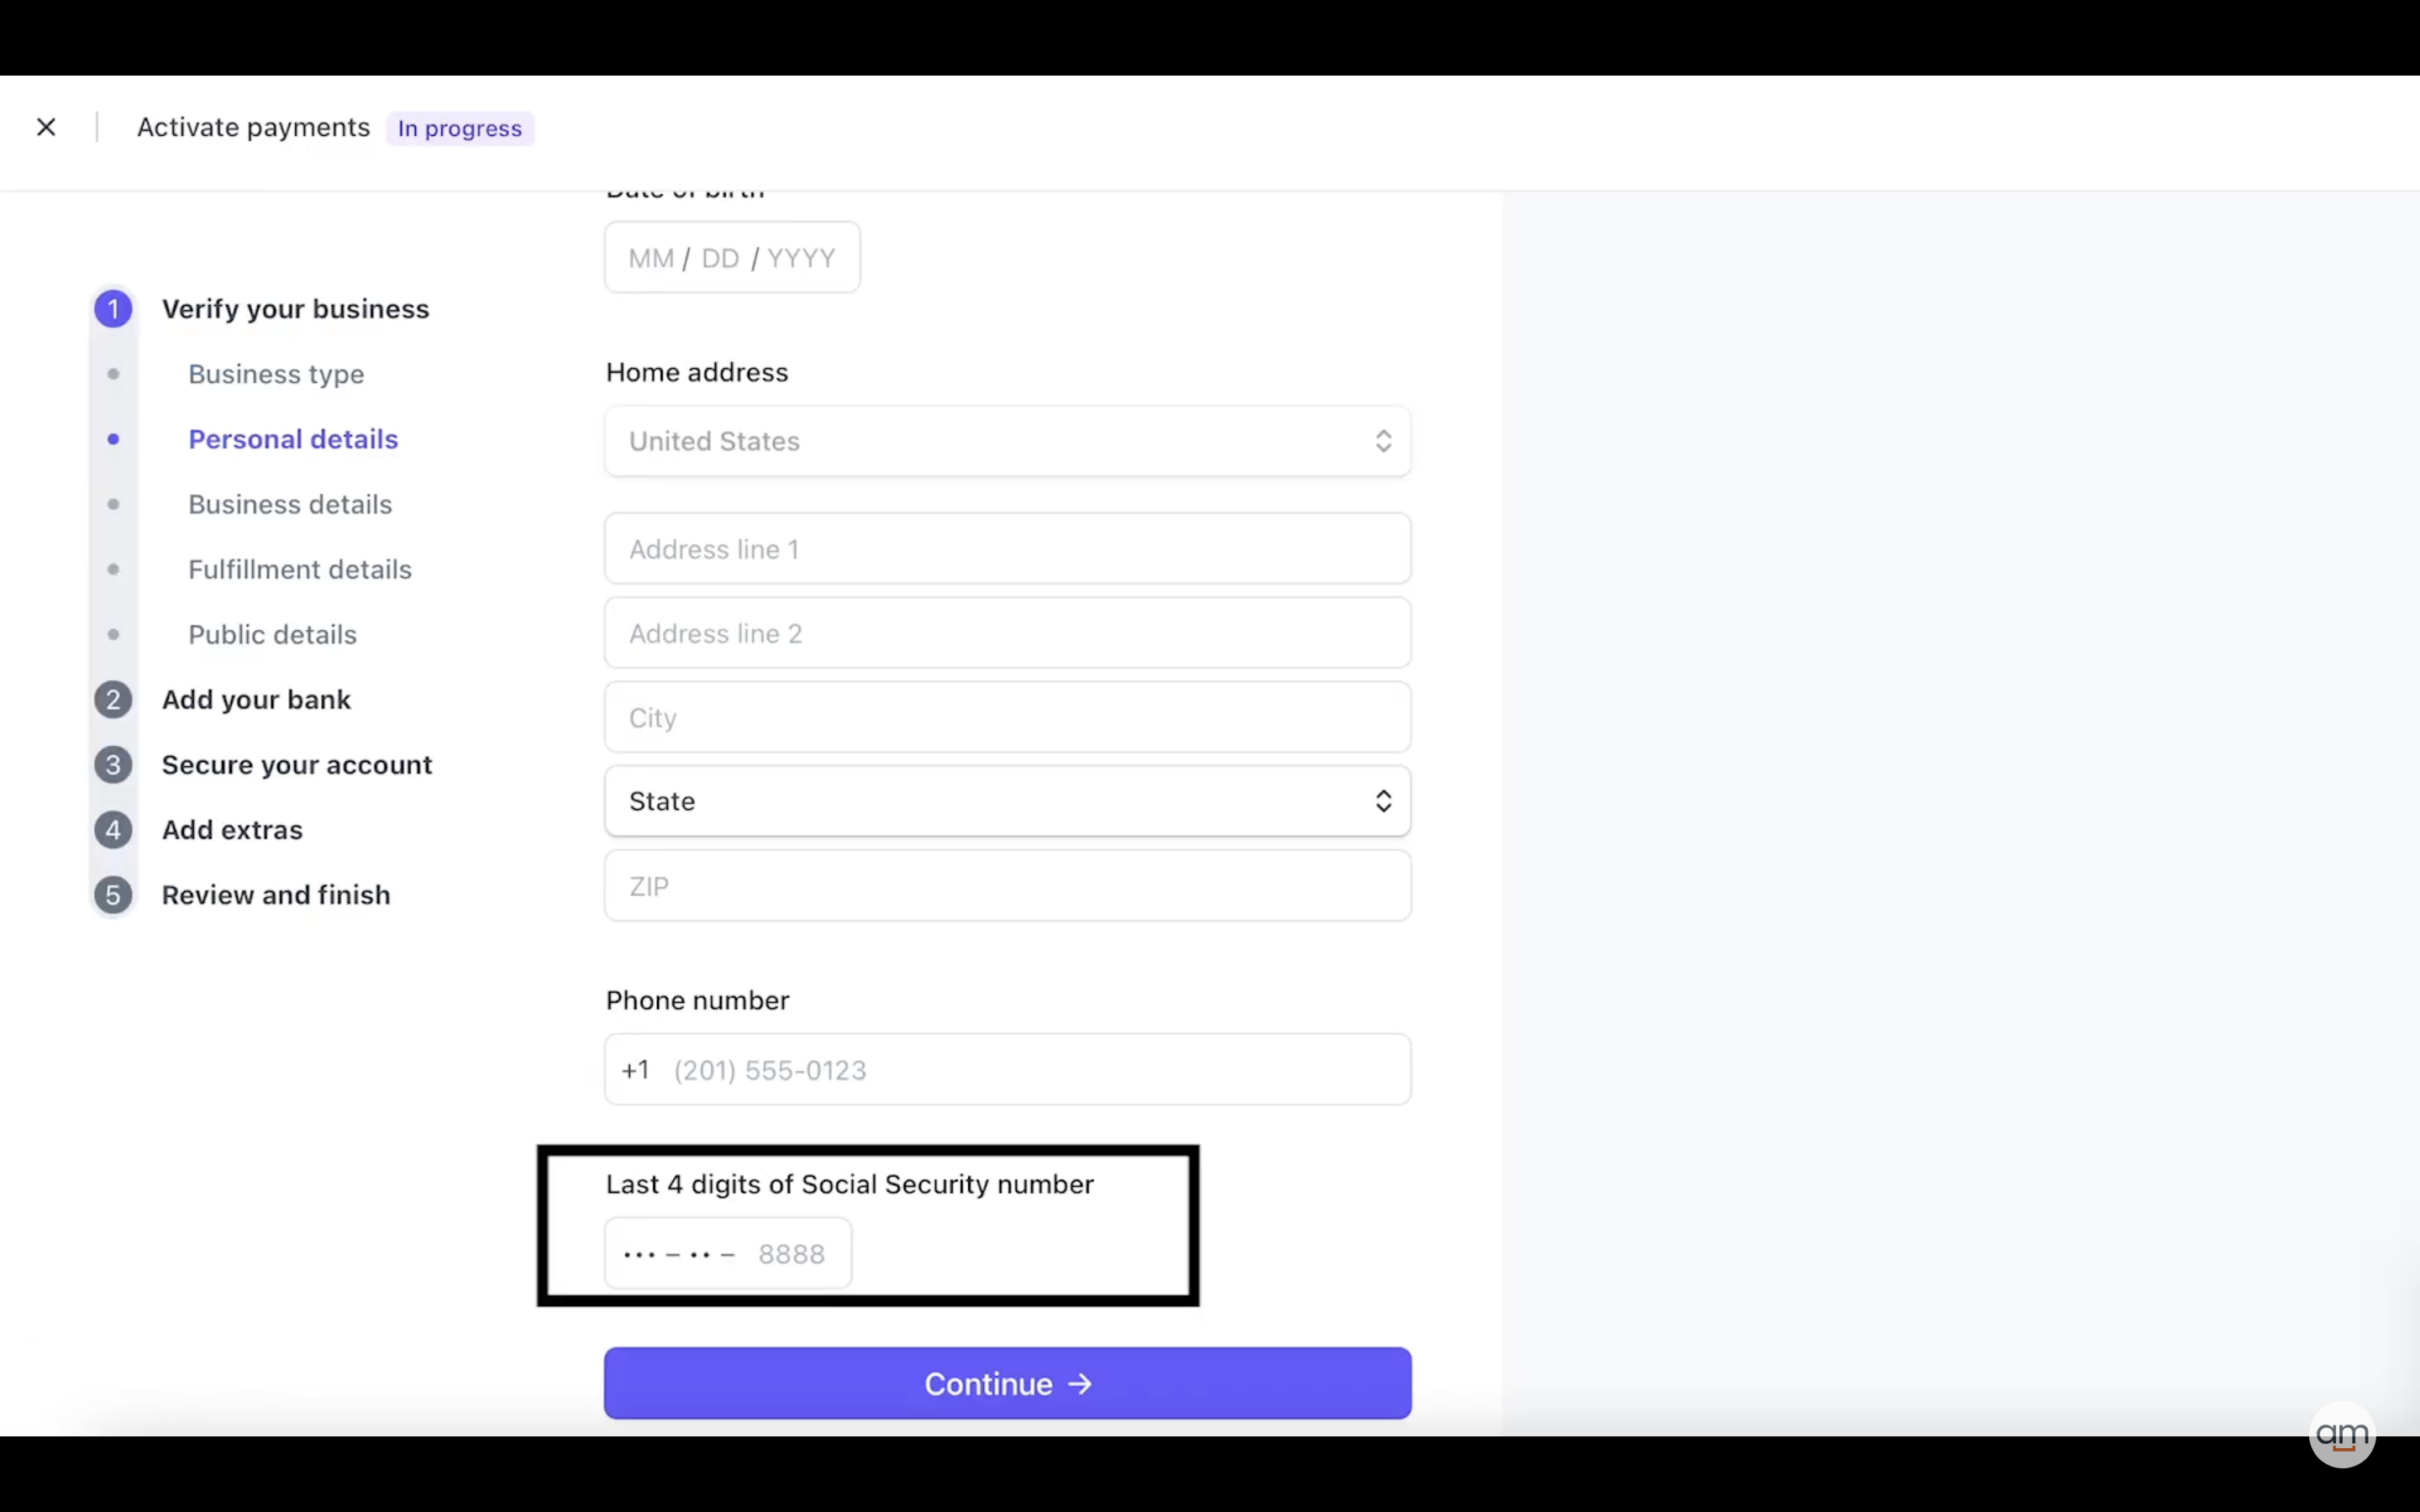
All you need is to fill out: the legal name of a person (first and last names), add your email address, choose your date of birth and home address as well as phone number and last 4 digits of your Social Security Number.
If you don’t have a phone number, you can use an online service to get a US phone number. Just google ‘virtual phone number USA’ and choose the convenient service you prefer, by the way, some of them have a free month trial.
The next step here is to fill out the last four digits of your Social Security number.
If you do not have US social insurance you can add the last 4 digits of your EIN (employer identification number). Check out our article on how to get the EIN.
- Business details
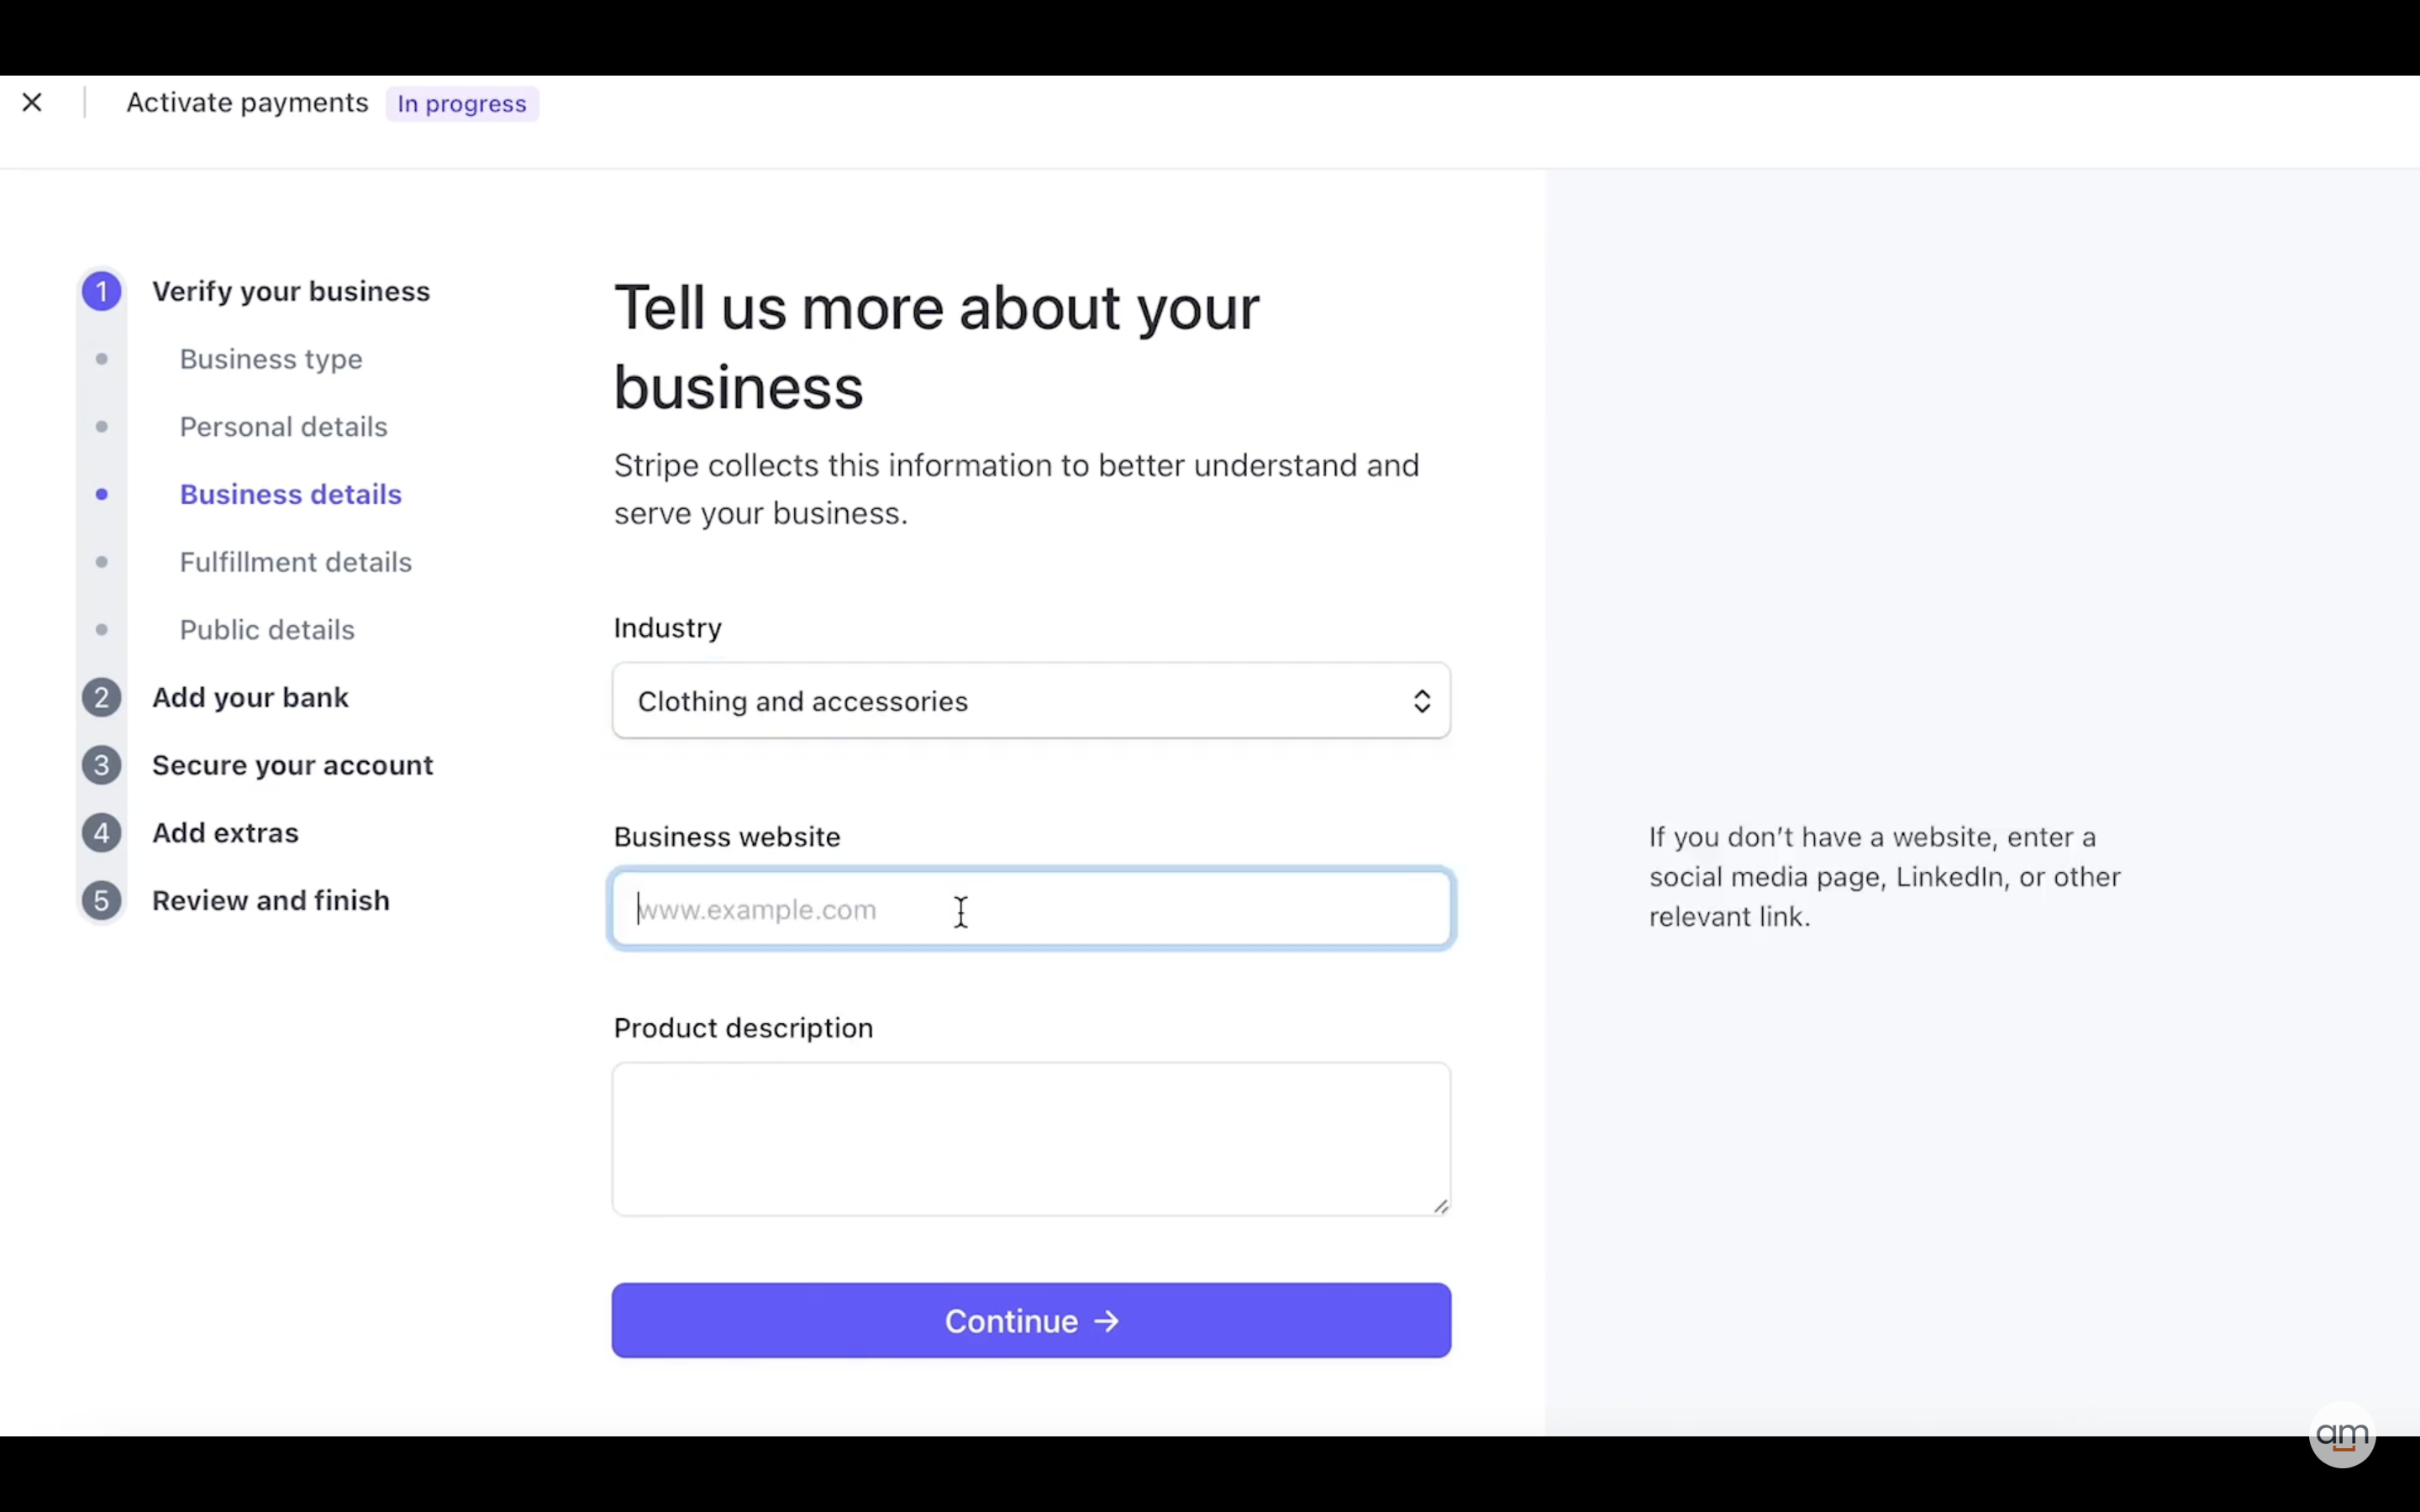
Now it’s time to tell Stripe more about your business. Stripe collects this information to Bette understand and serve your business.
Here you should choose the industry and add your business website. If you don’t have a website, enter a social media page, LinkedIn, or another relevant link.
No need to add a product description.
- Now let’s add fulfillment details
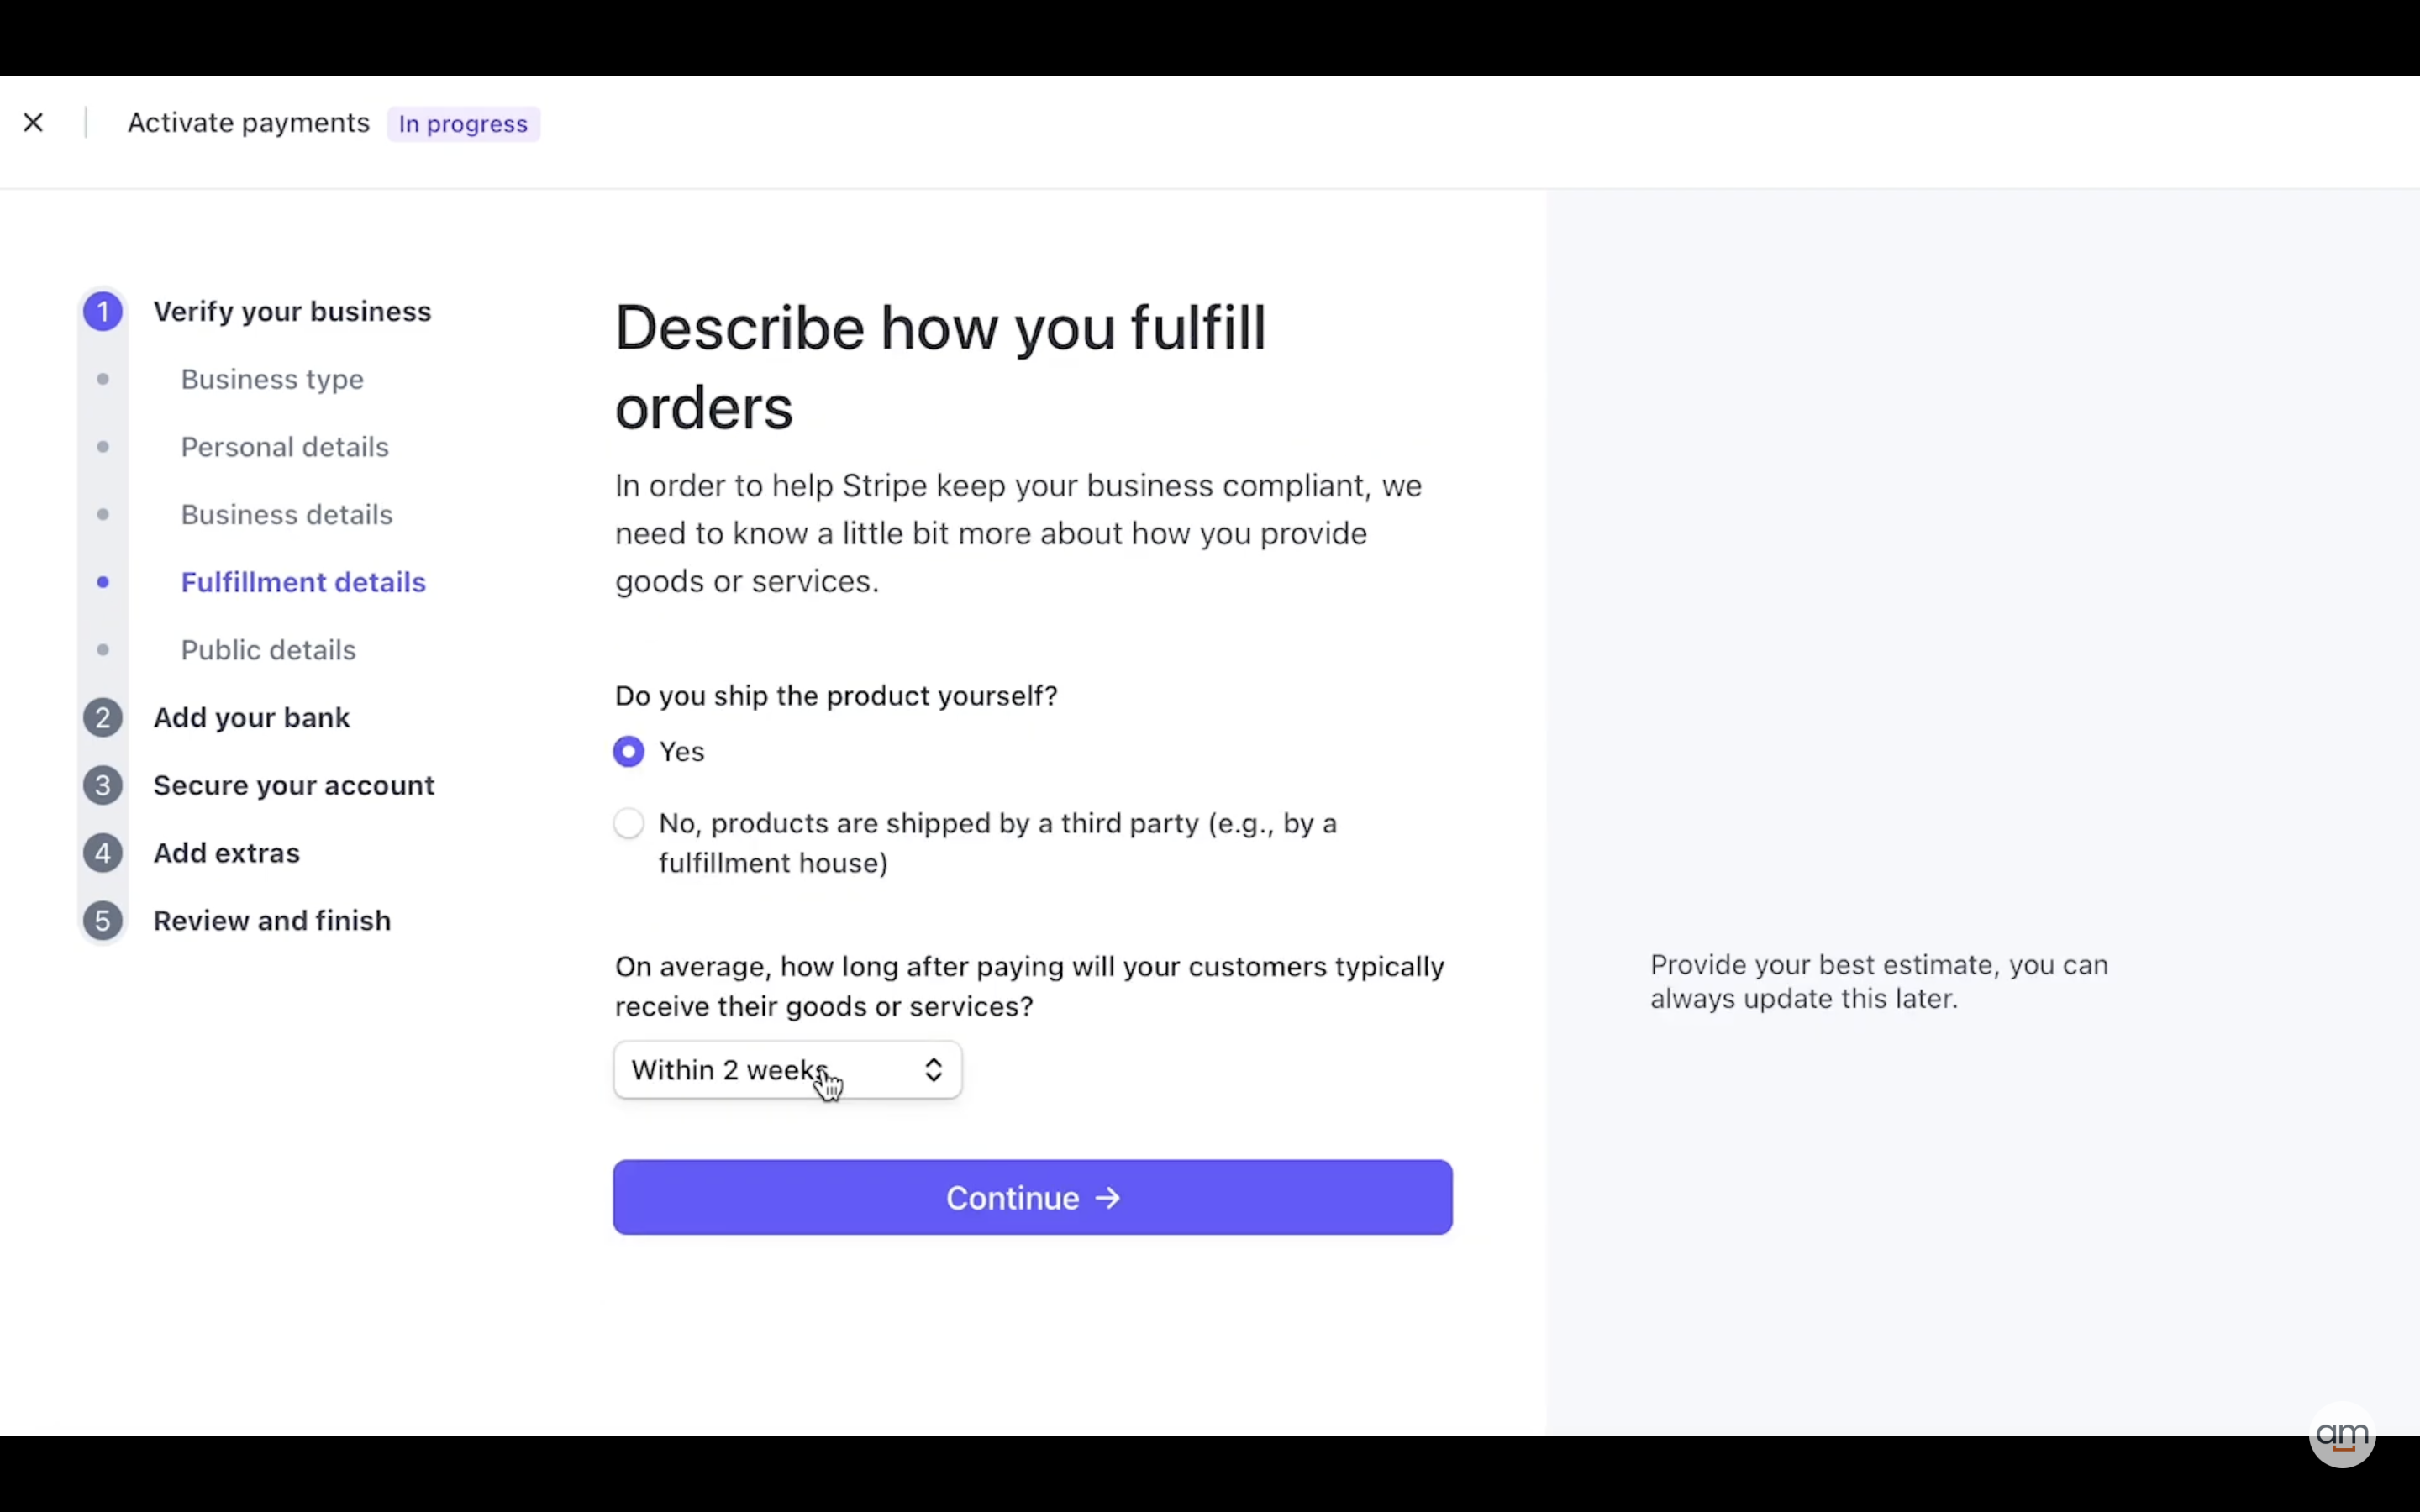
To help Stripe keep your business compliant, they need to know a little bit more about how you provide goods or services.
Let them know whether you ship the product yourself or not. Also, add some info about how long after paying will your customers typically receive their goods or services.
Provide your best estimate, you can always update this later.
Let’s add our public details for customers.
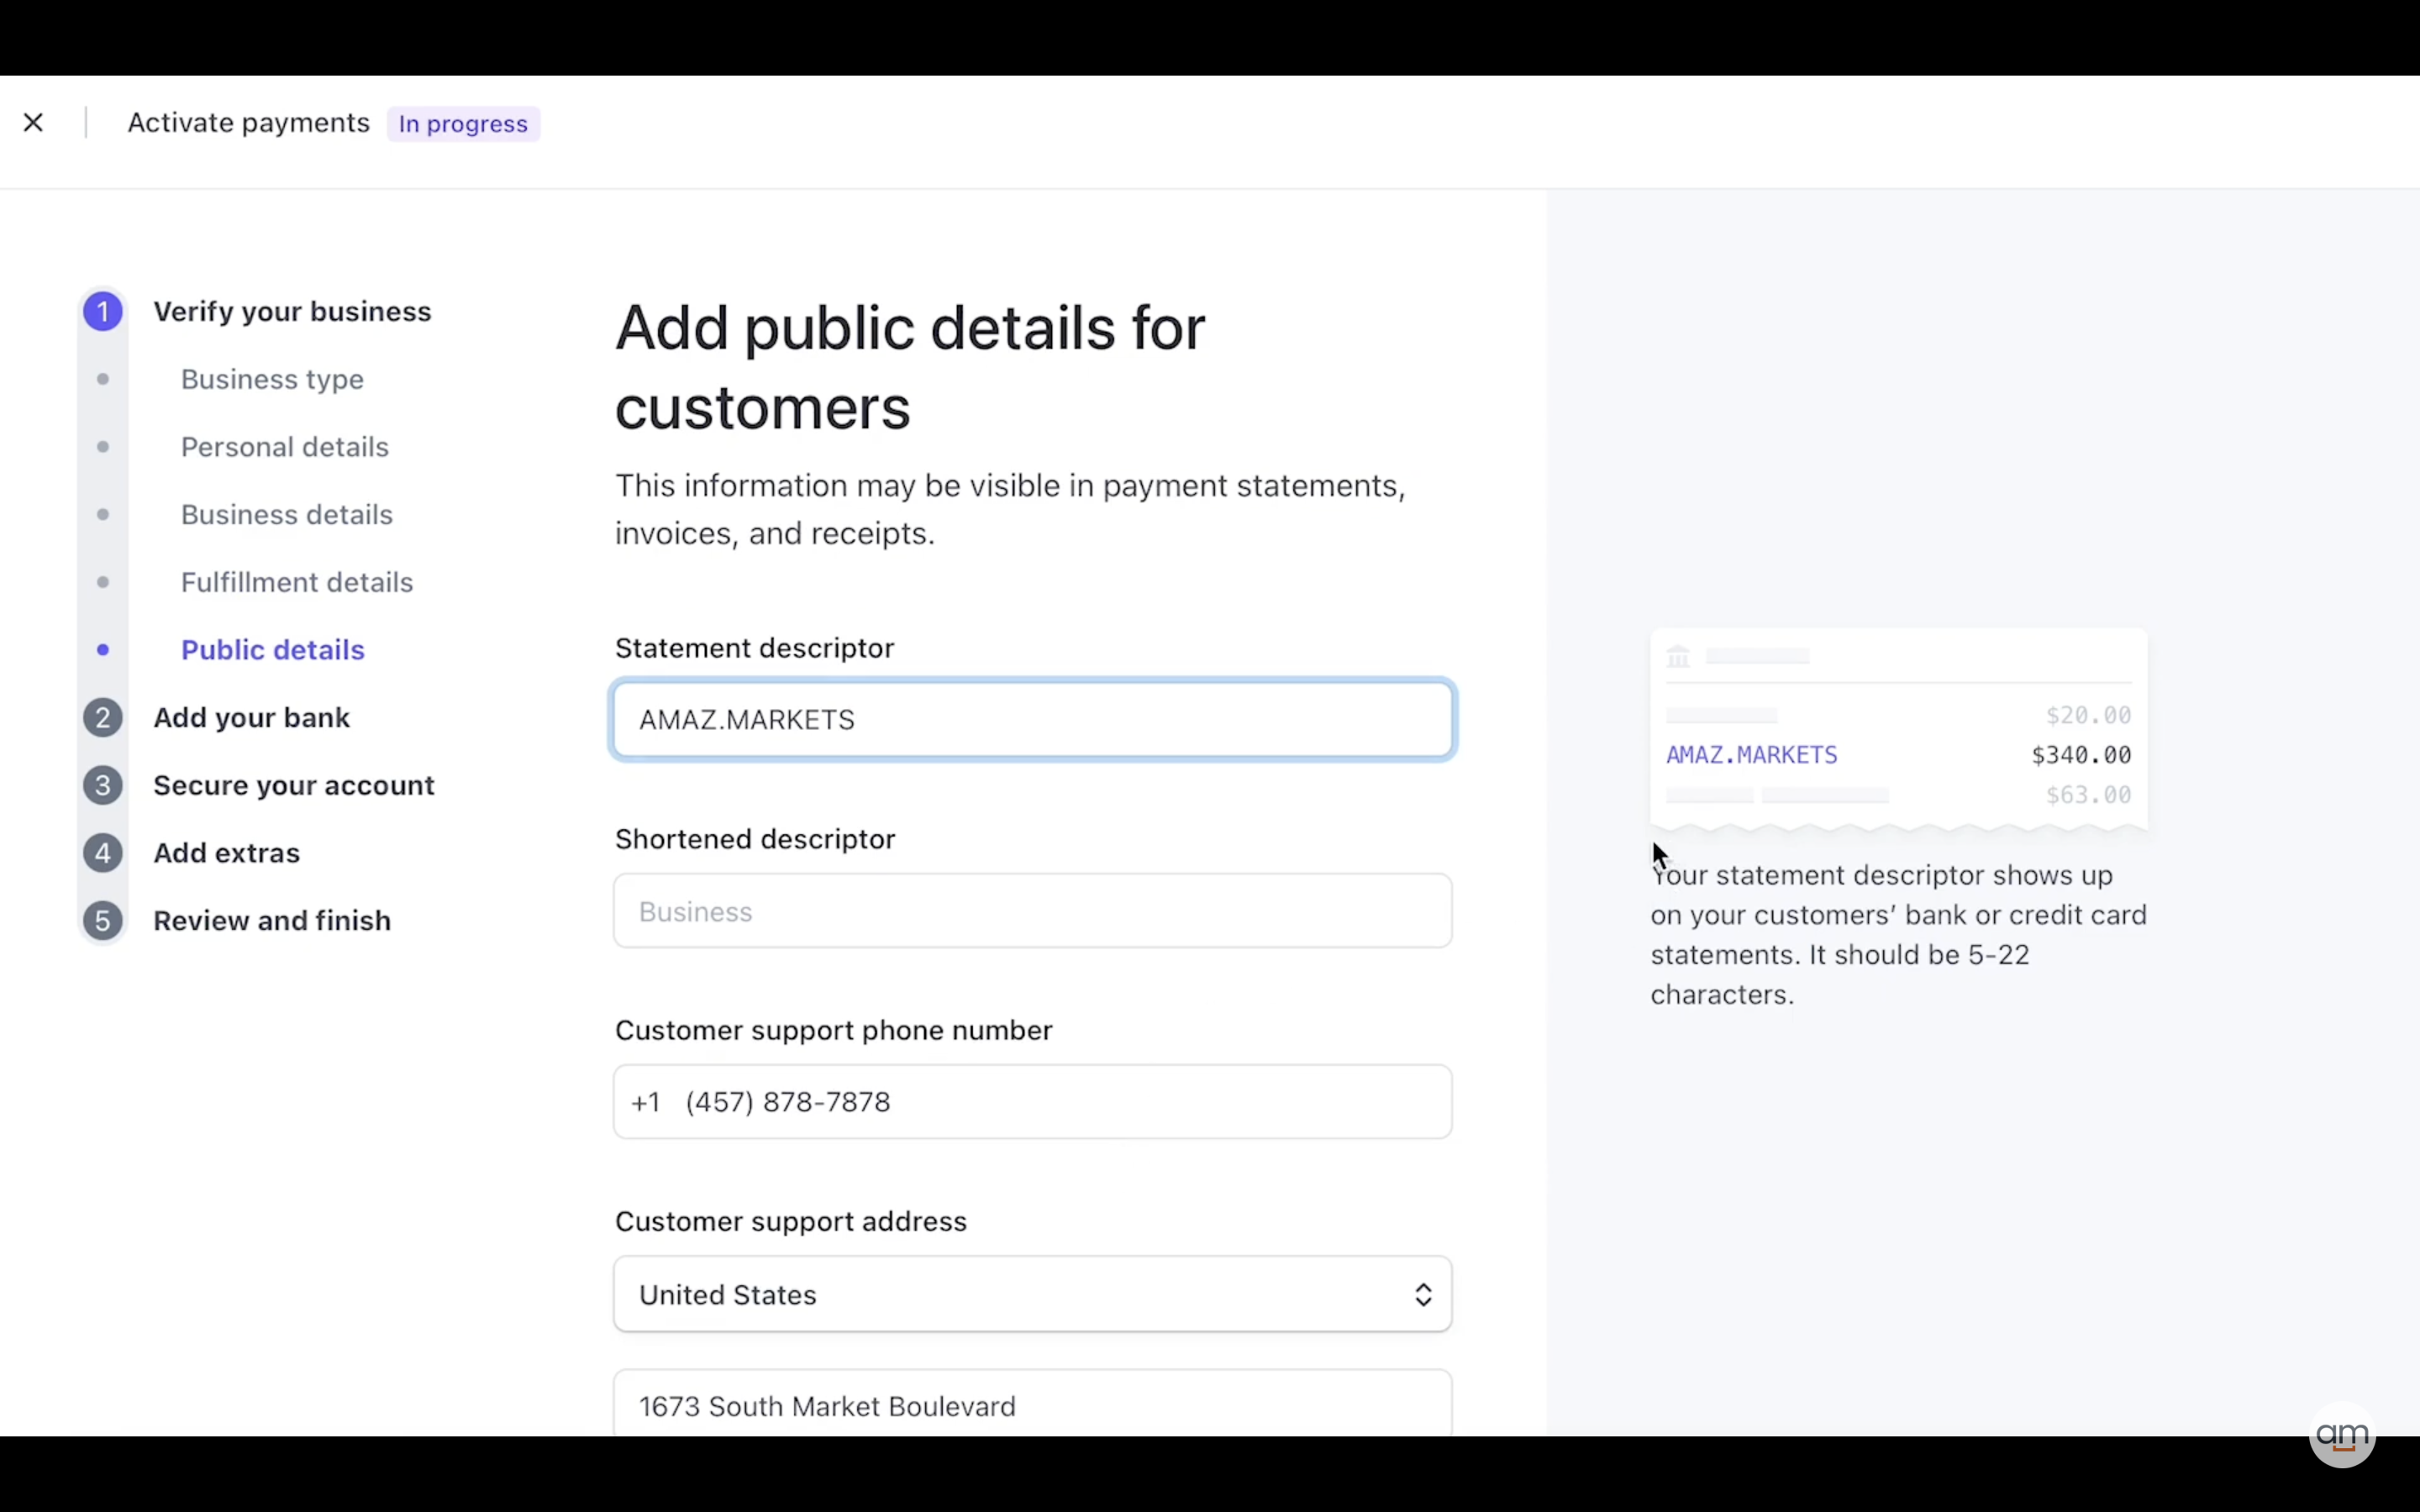
This information may be visible in payment statements, invoices, and receipts.
You will need to add a statement descriptor. For statements, the descriptor shows up on your customer’s bank or credit card statements.
Other information is added automatically.
It’s time to head to step 2.
Add your bank
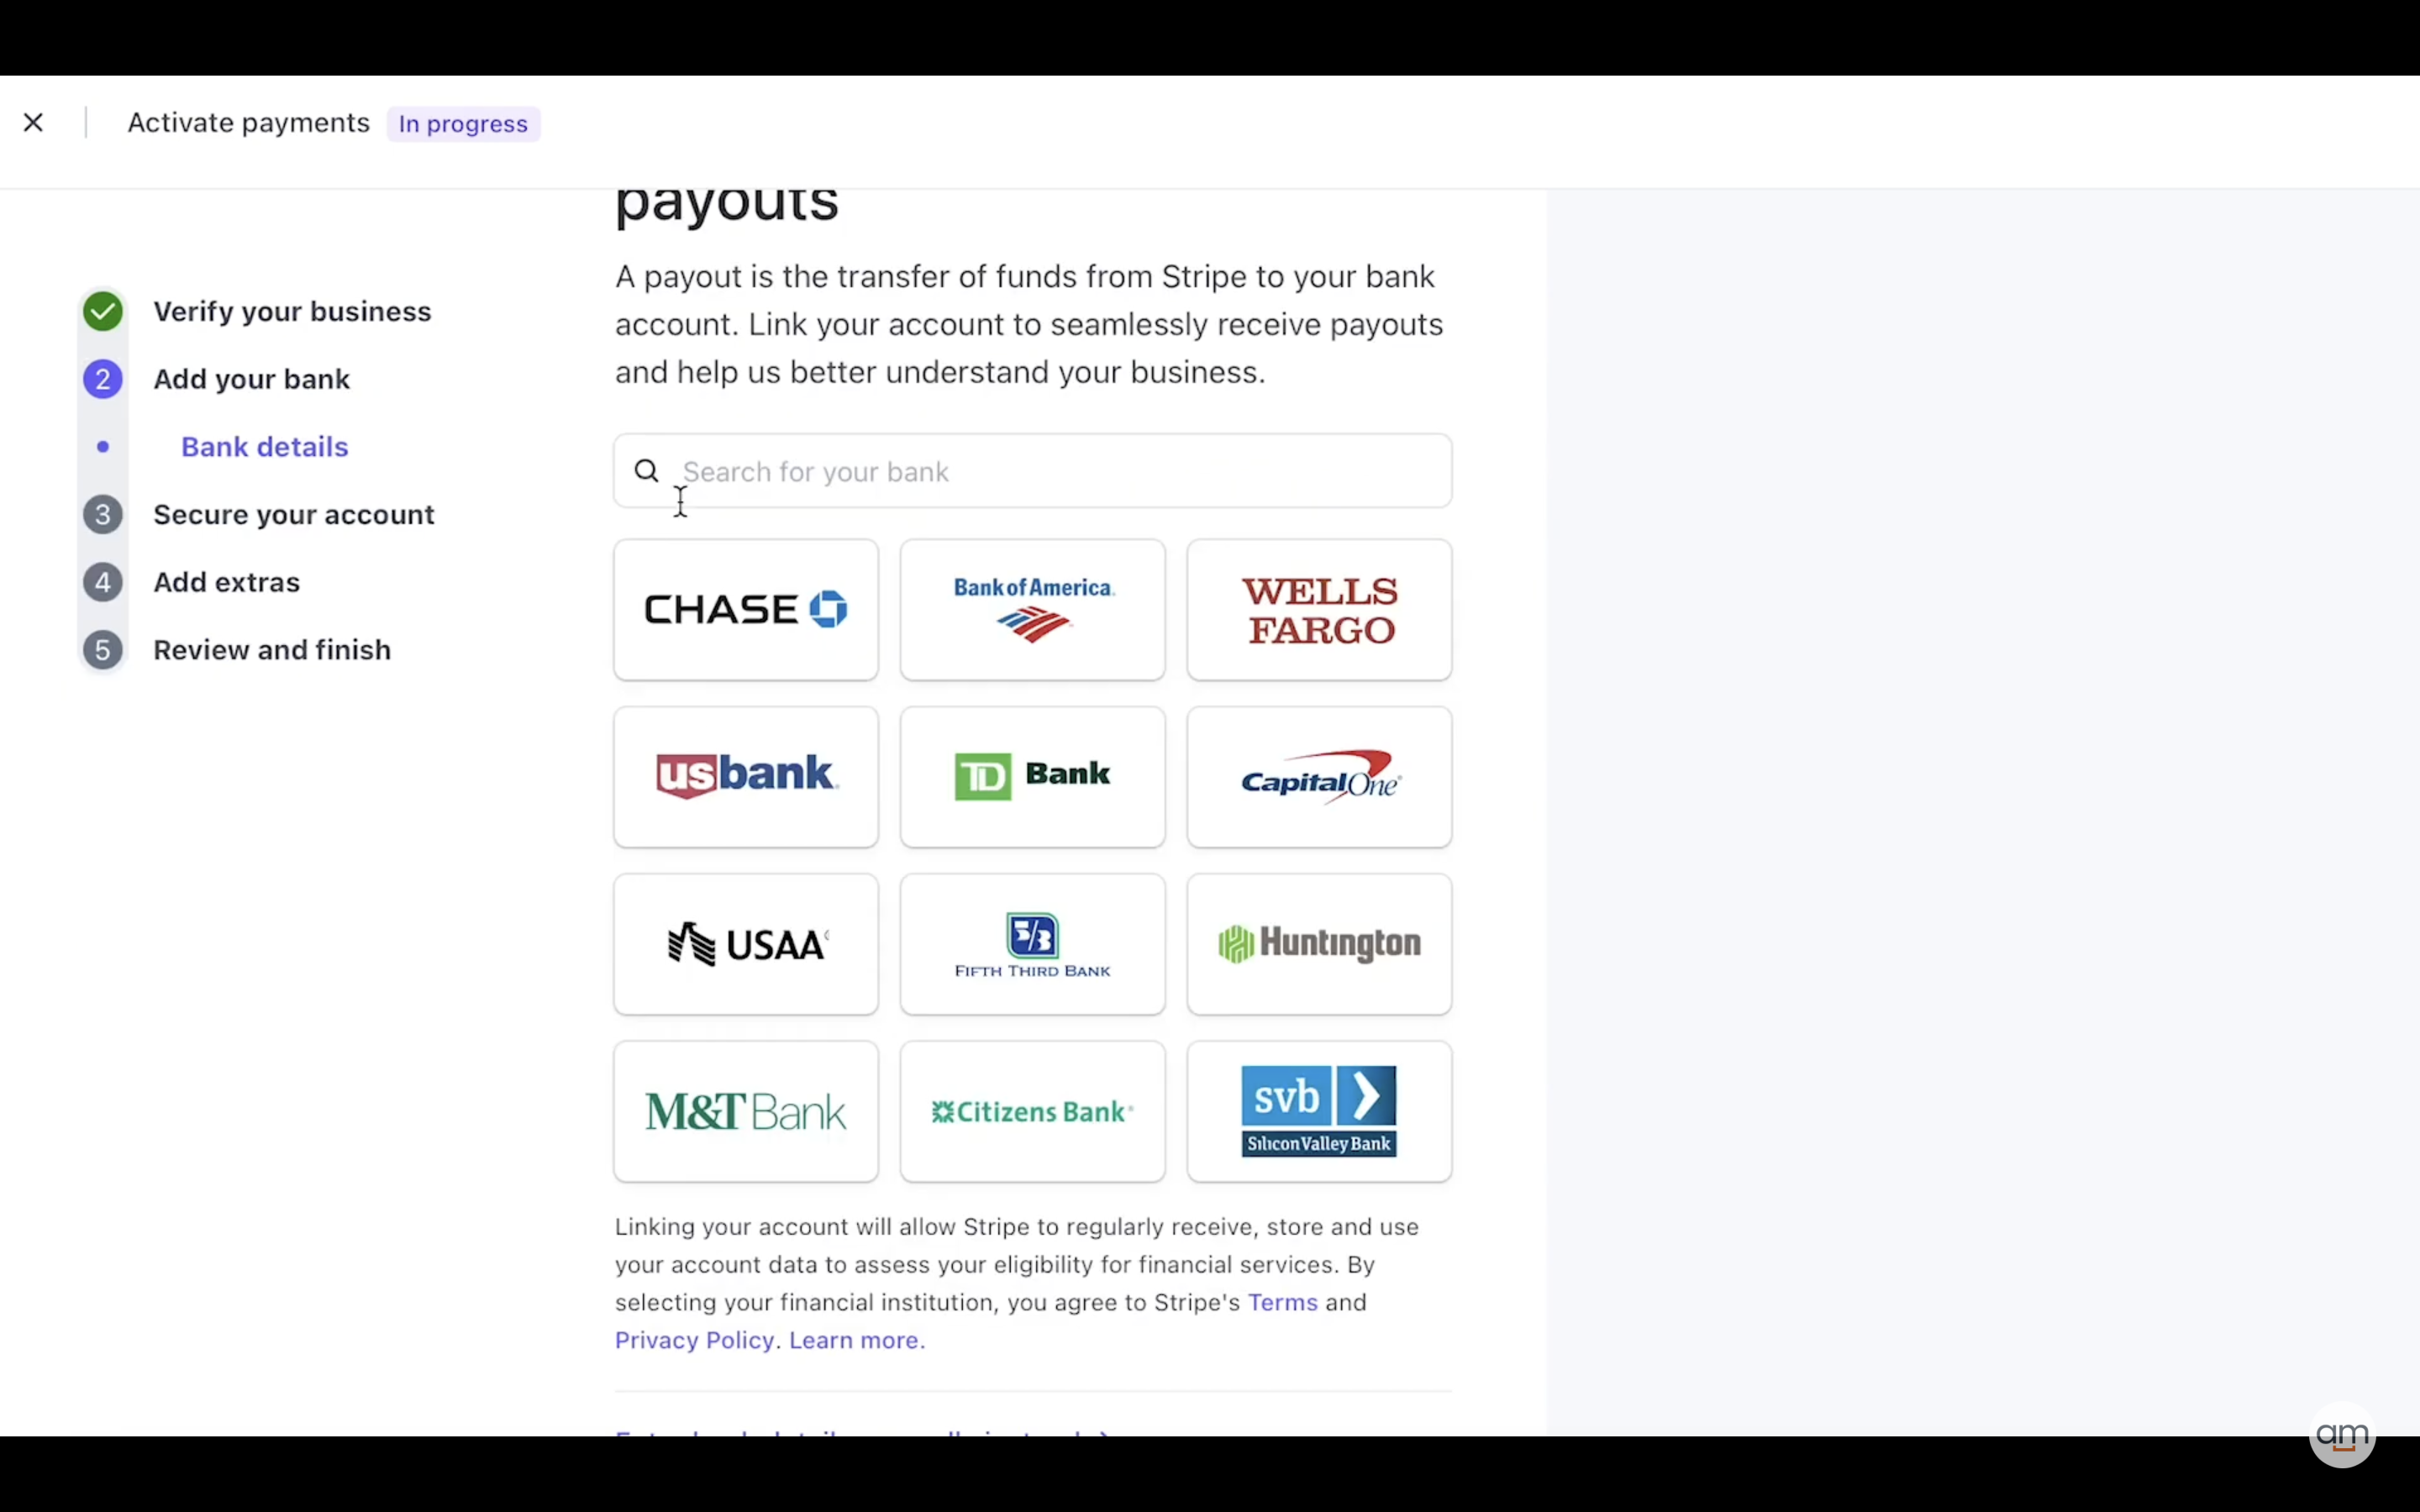
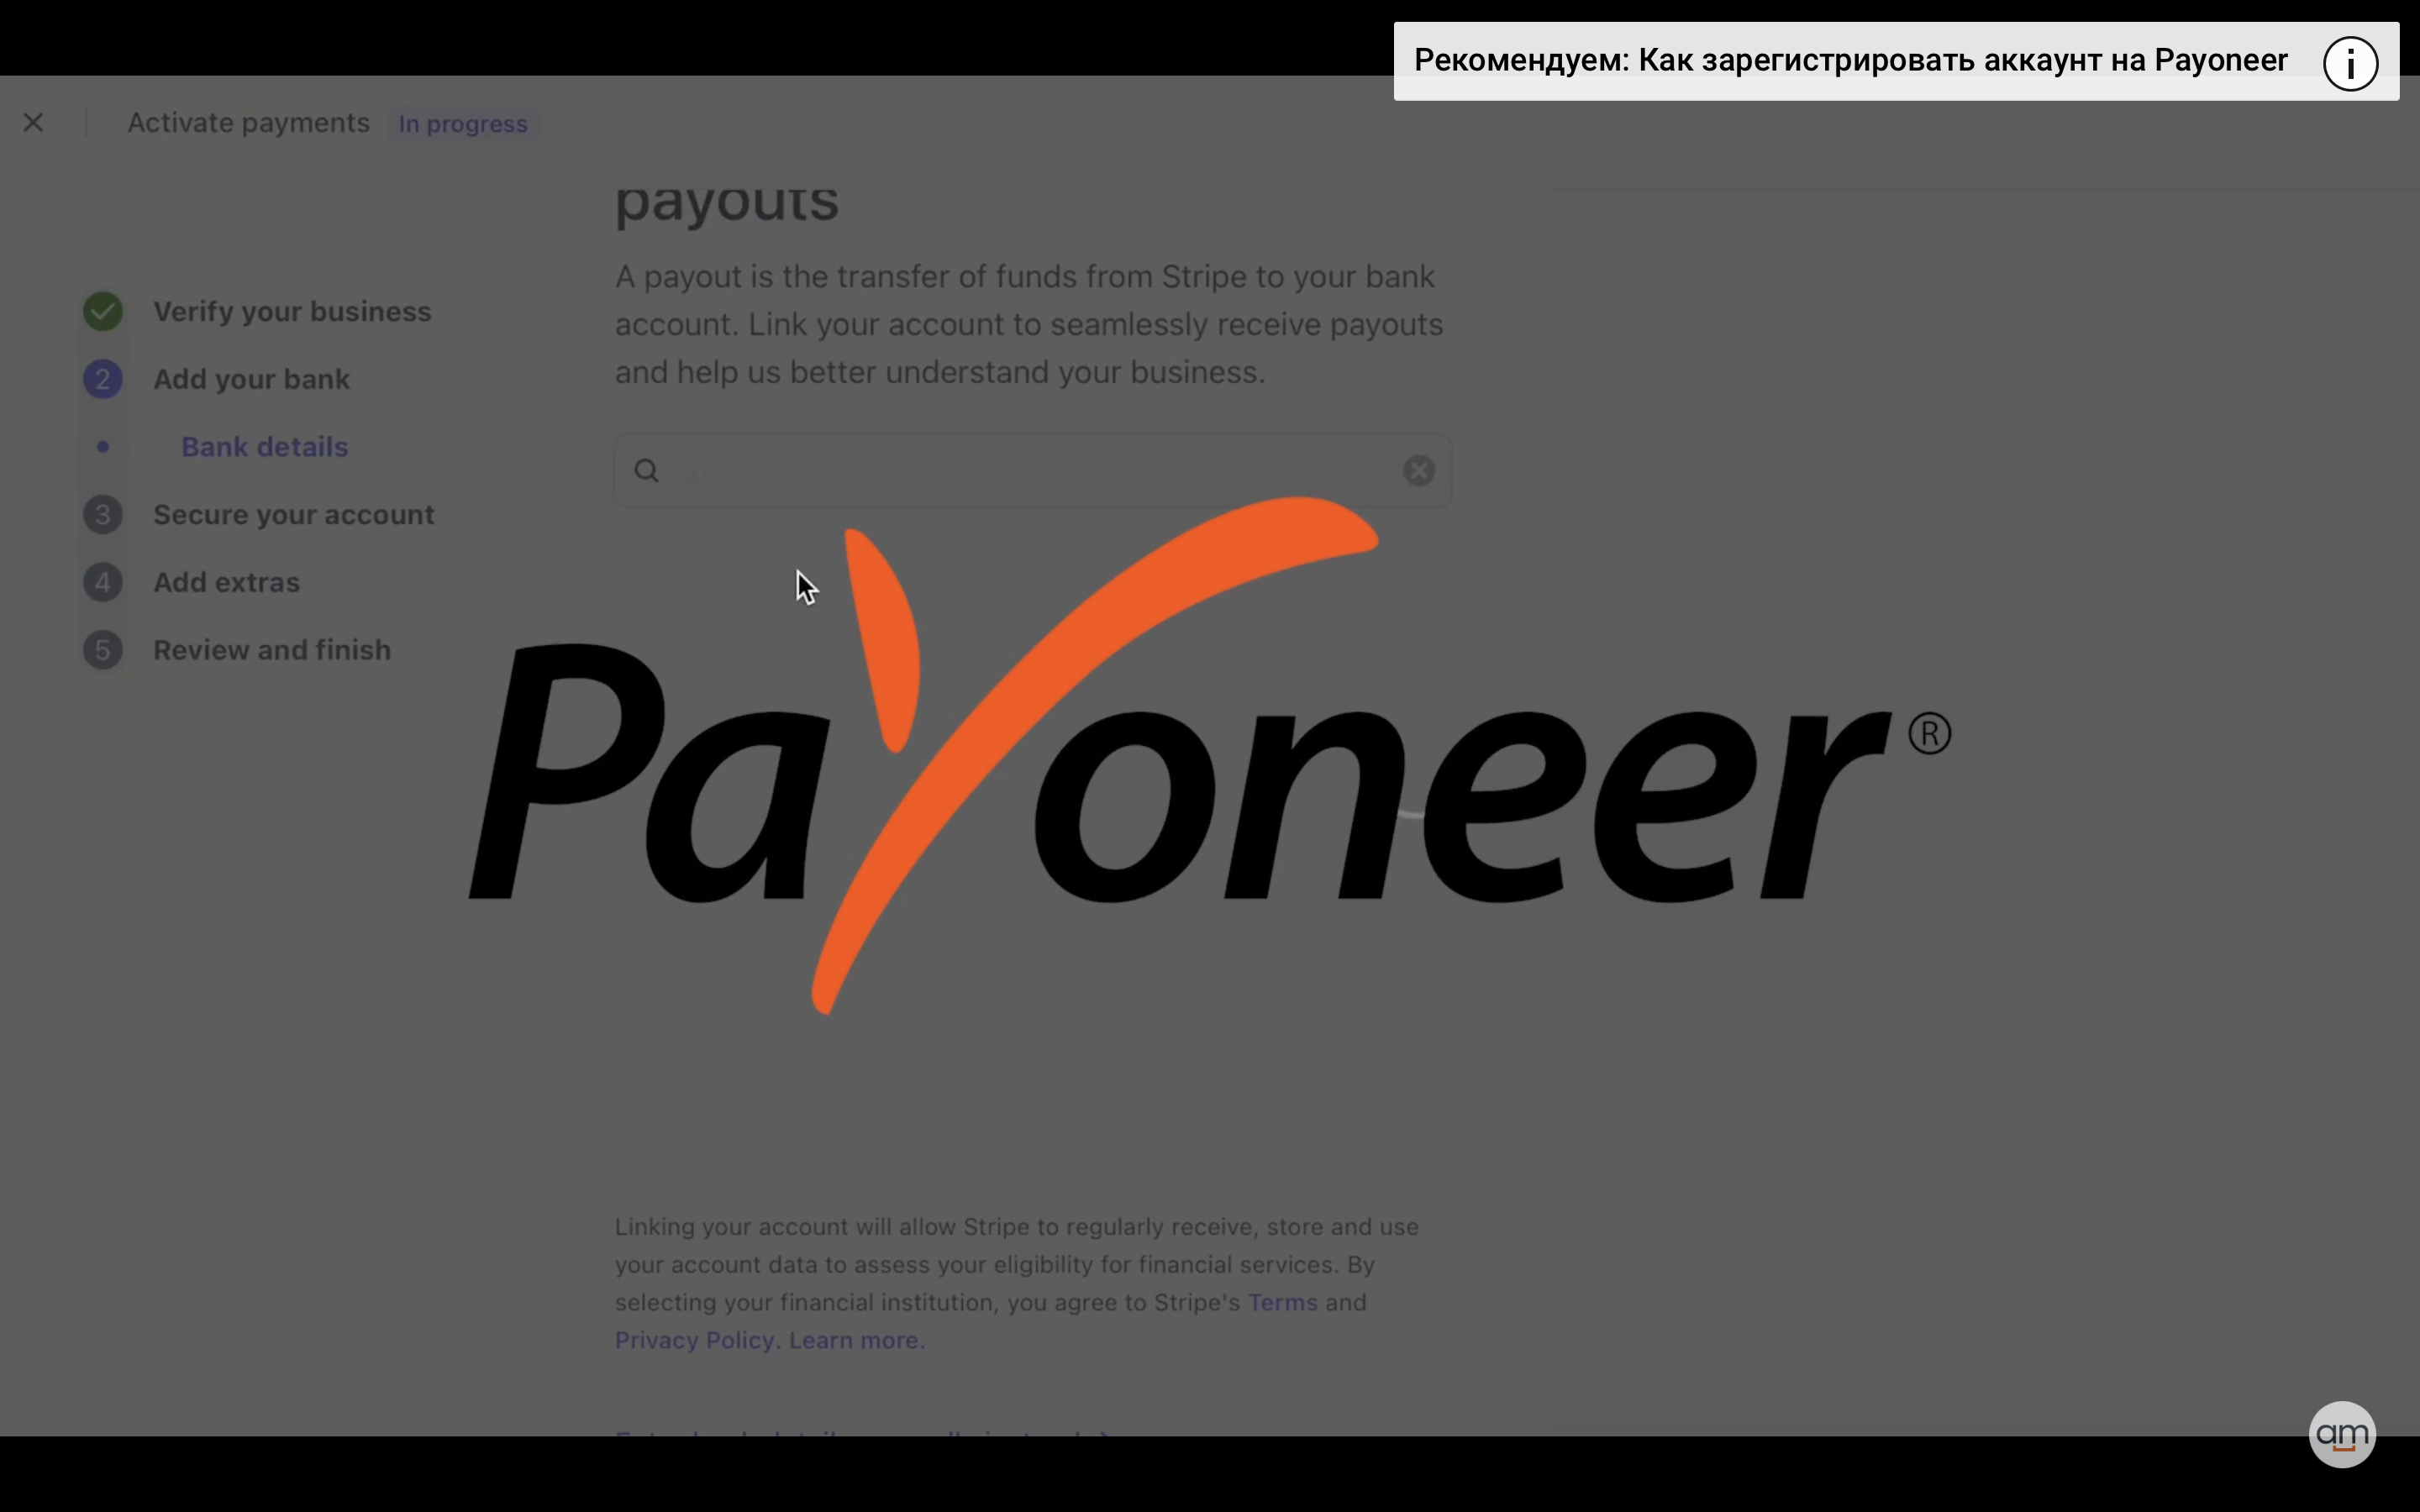
Now we need to add bank details to handle payouts.
A payout is the transfer of funds from Stripe to your bank account. Link your account to seamlessly receive payouts and help Stripe better understand your business. Search for a bank and choose it.
If you have no US bank account you can add the details of your Payoneer account.
Secure your account
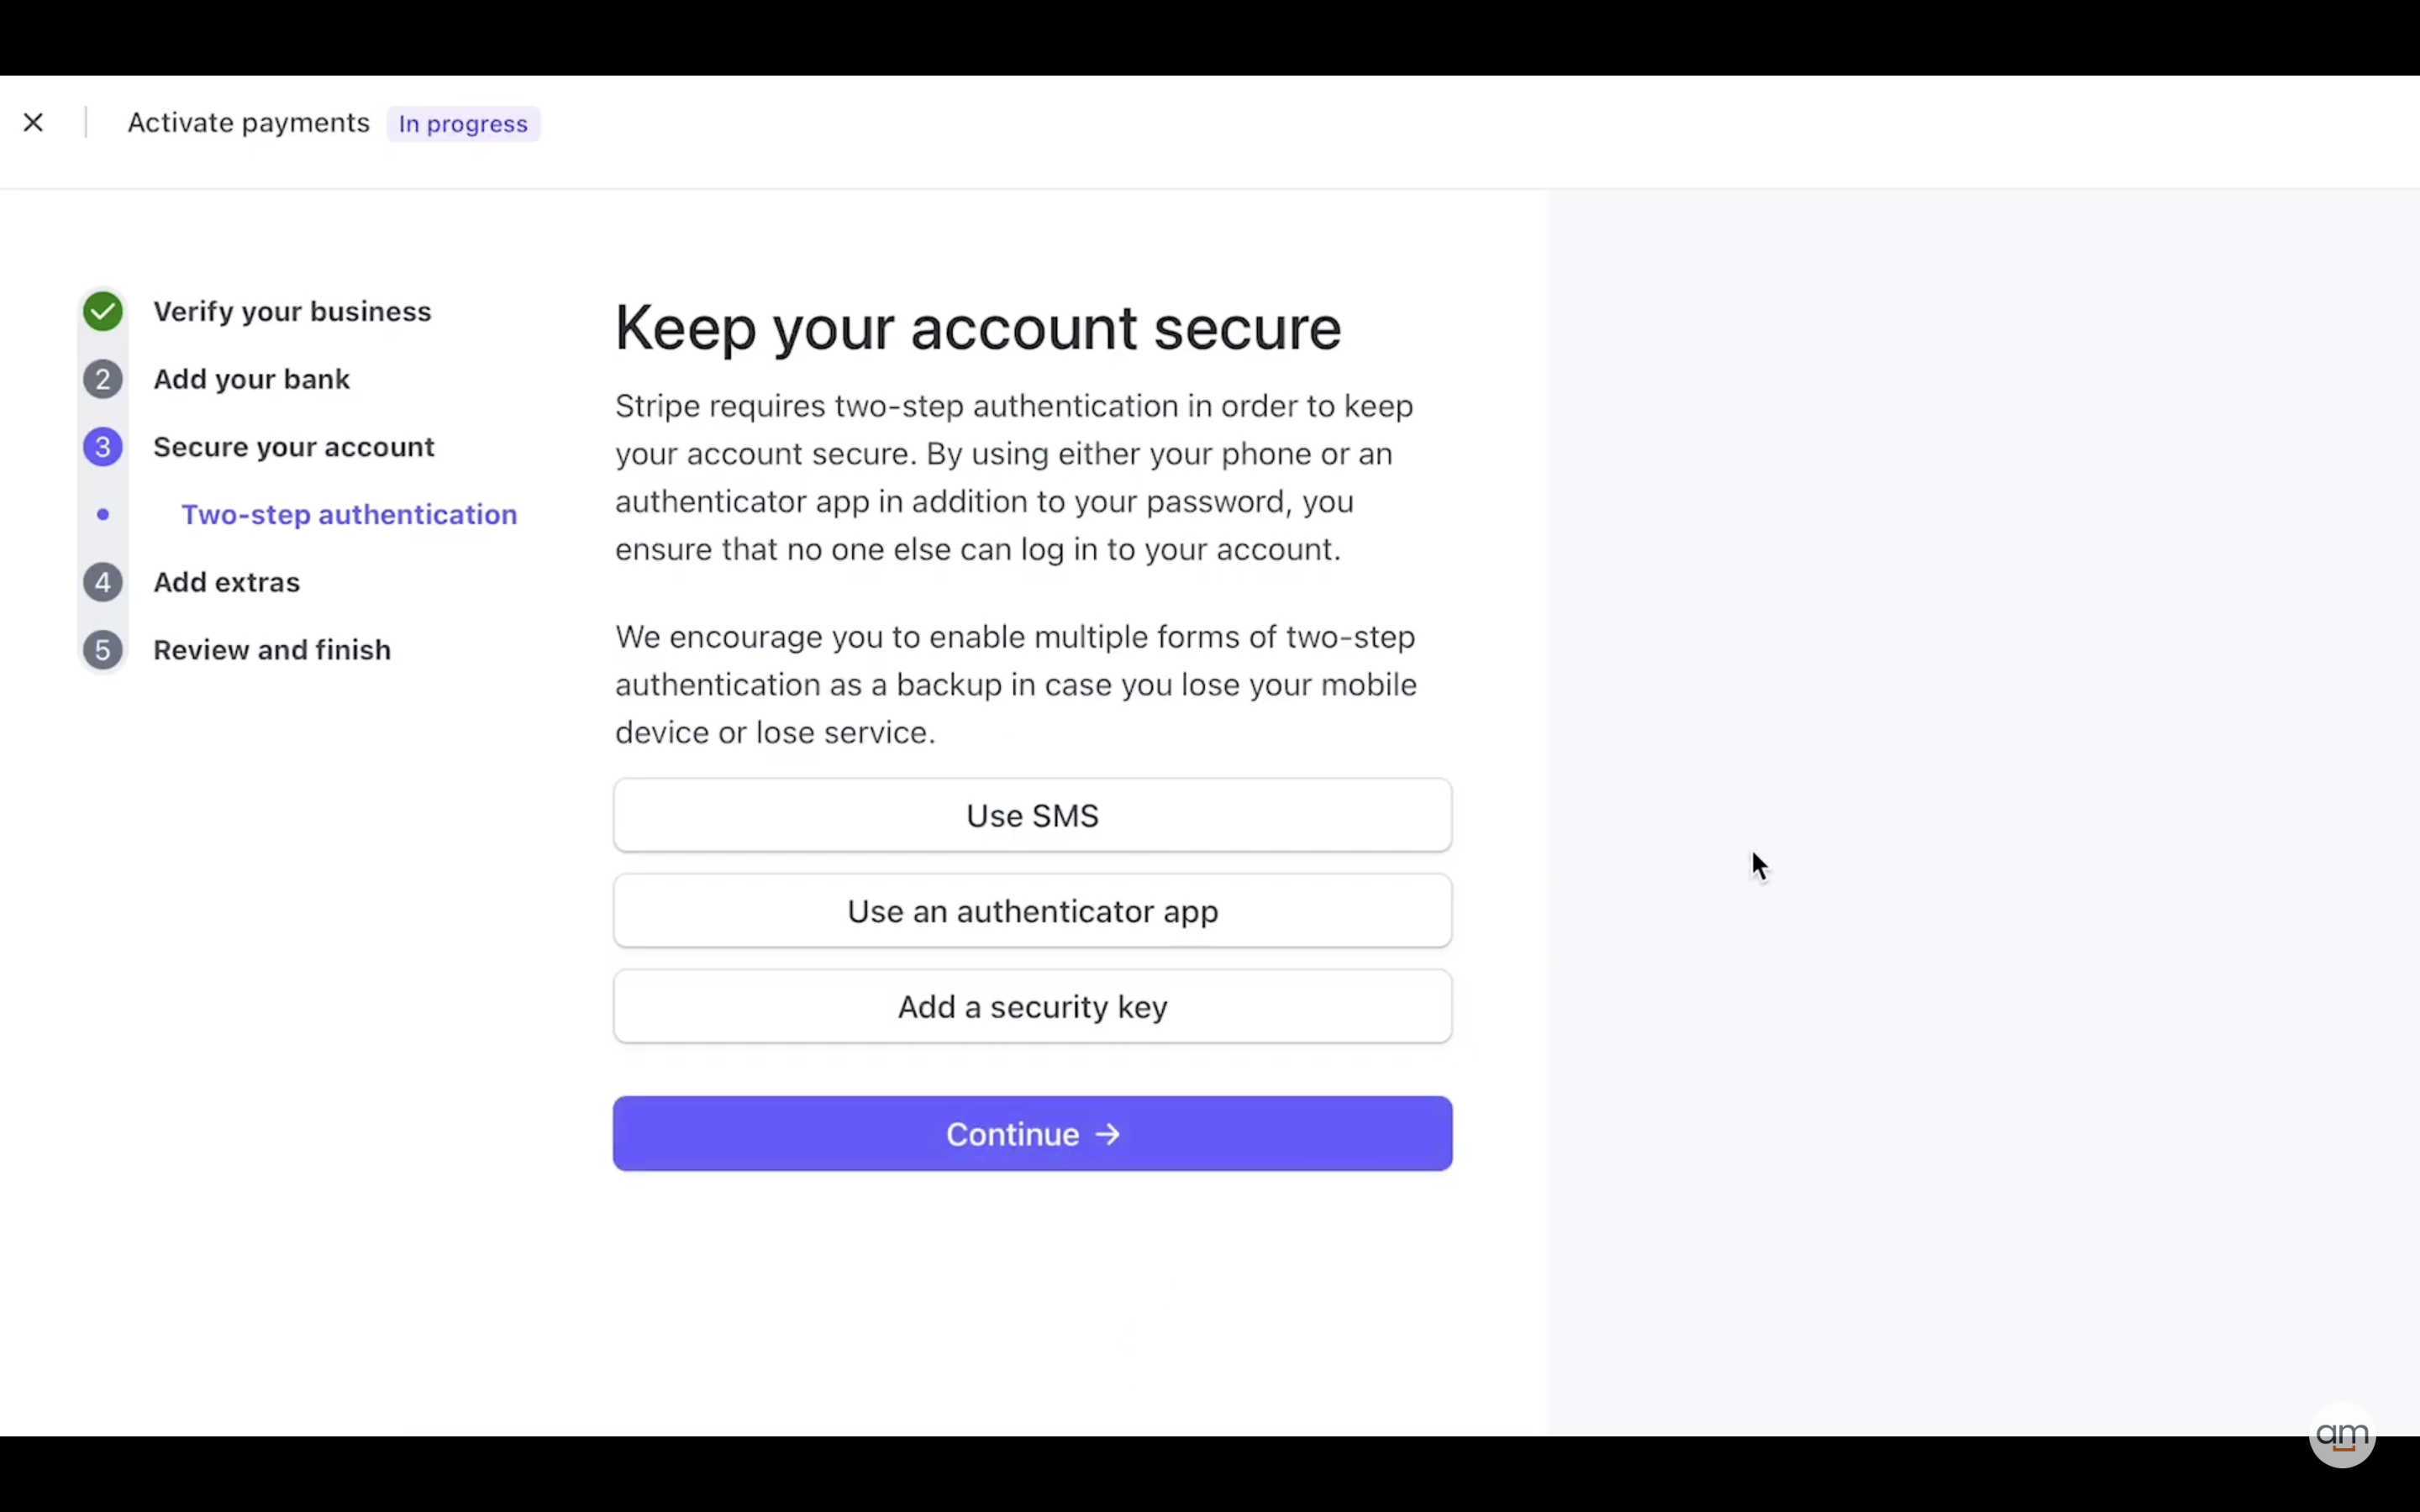
Keep your account secure with Stripe.
Stripe requires two-step authentication to keep your account secure.
By using either your phone or an authenticator app in addition to your password, you ensure that no one else can log in to your account.
Stripe encourages you to enable multiple forms of two-step authentication as a backup in case you lose your mobile device or lose service.
So now let’s choose how you want to keep your account secure:
- Use SMS
- Use an authenticator app
- Add a security key
Add extras
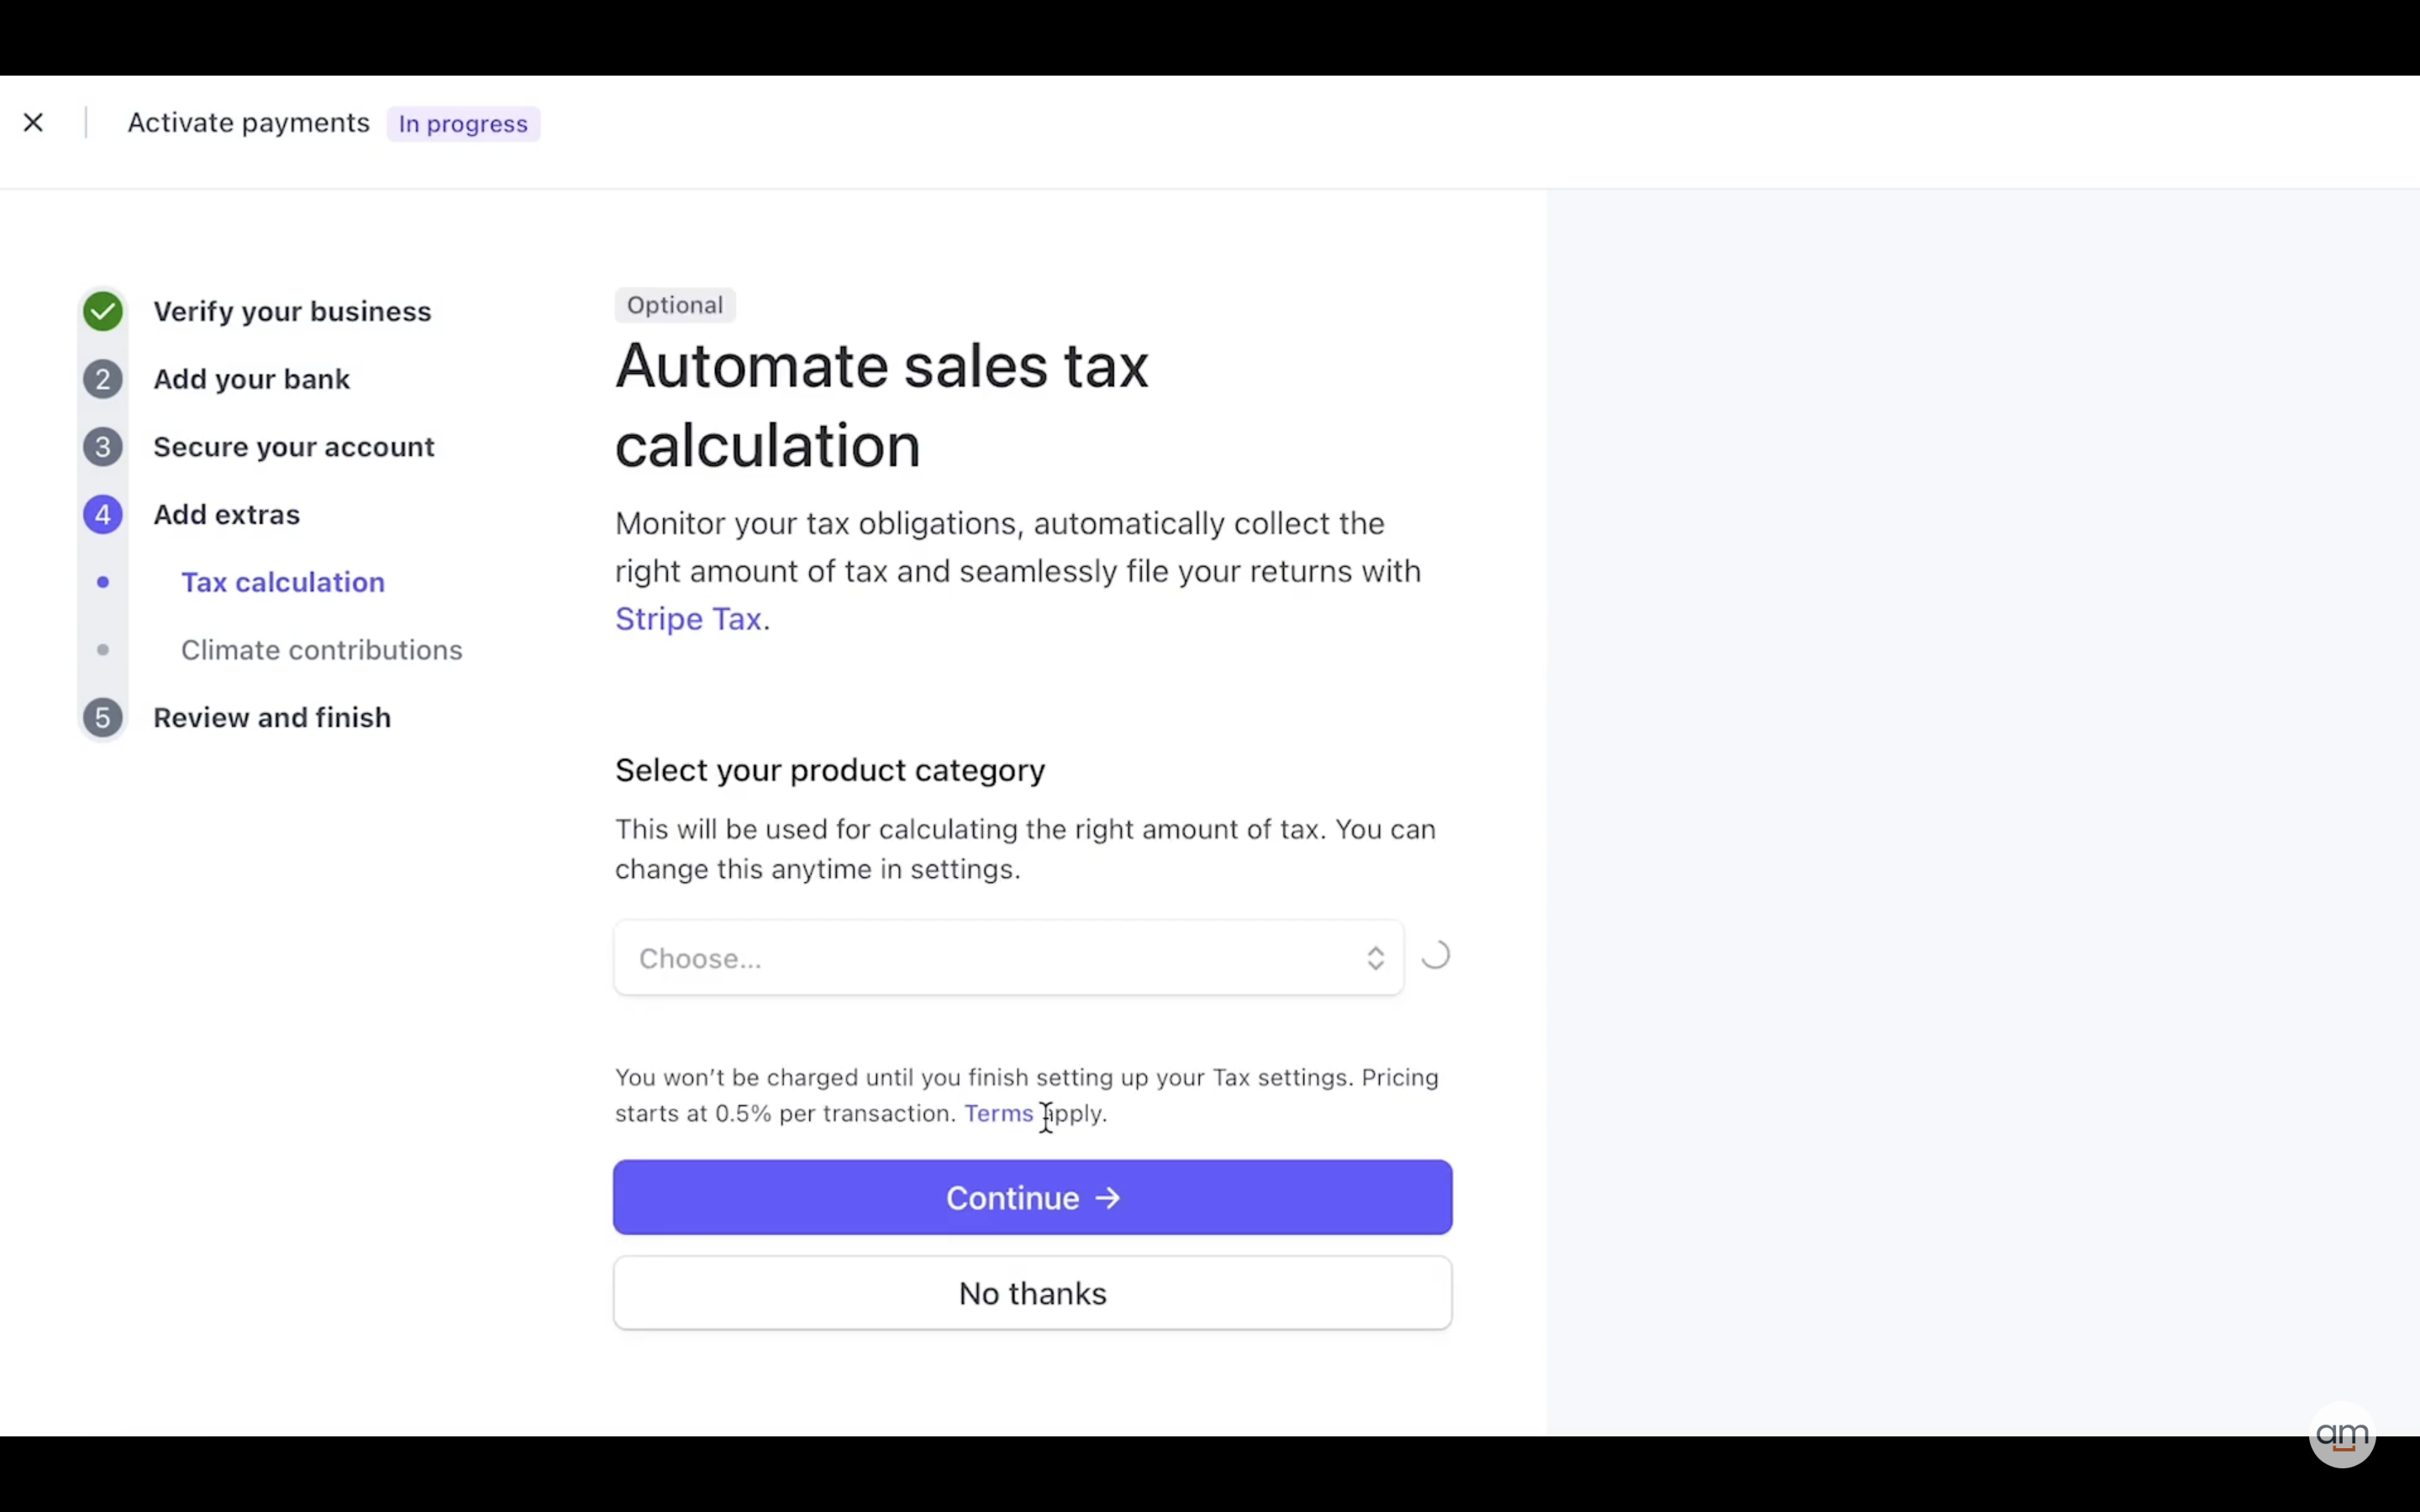
This step is optional: tax calculations
It will help you automate sales tax calculation and monitor your tax obligations, automatically collect the right amount of tax and seamlessly file your returns with Stripe Tax.
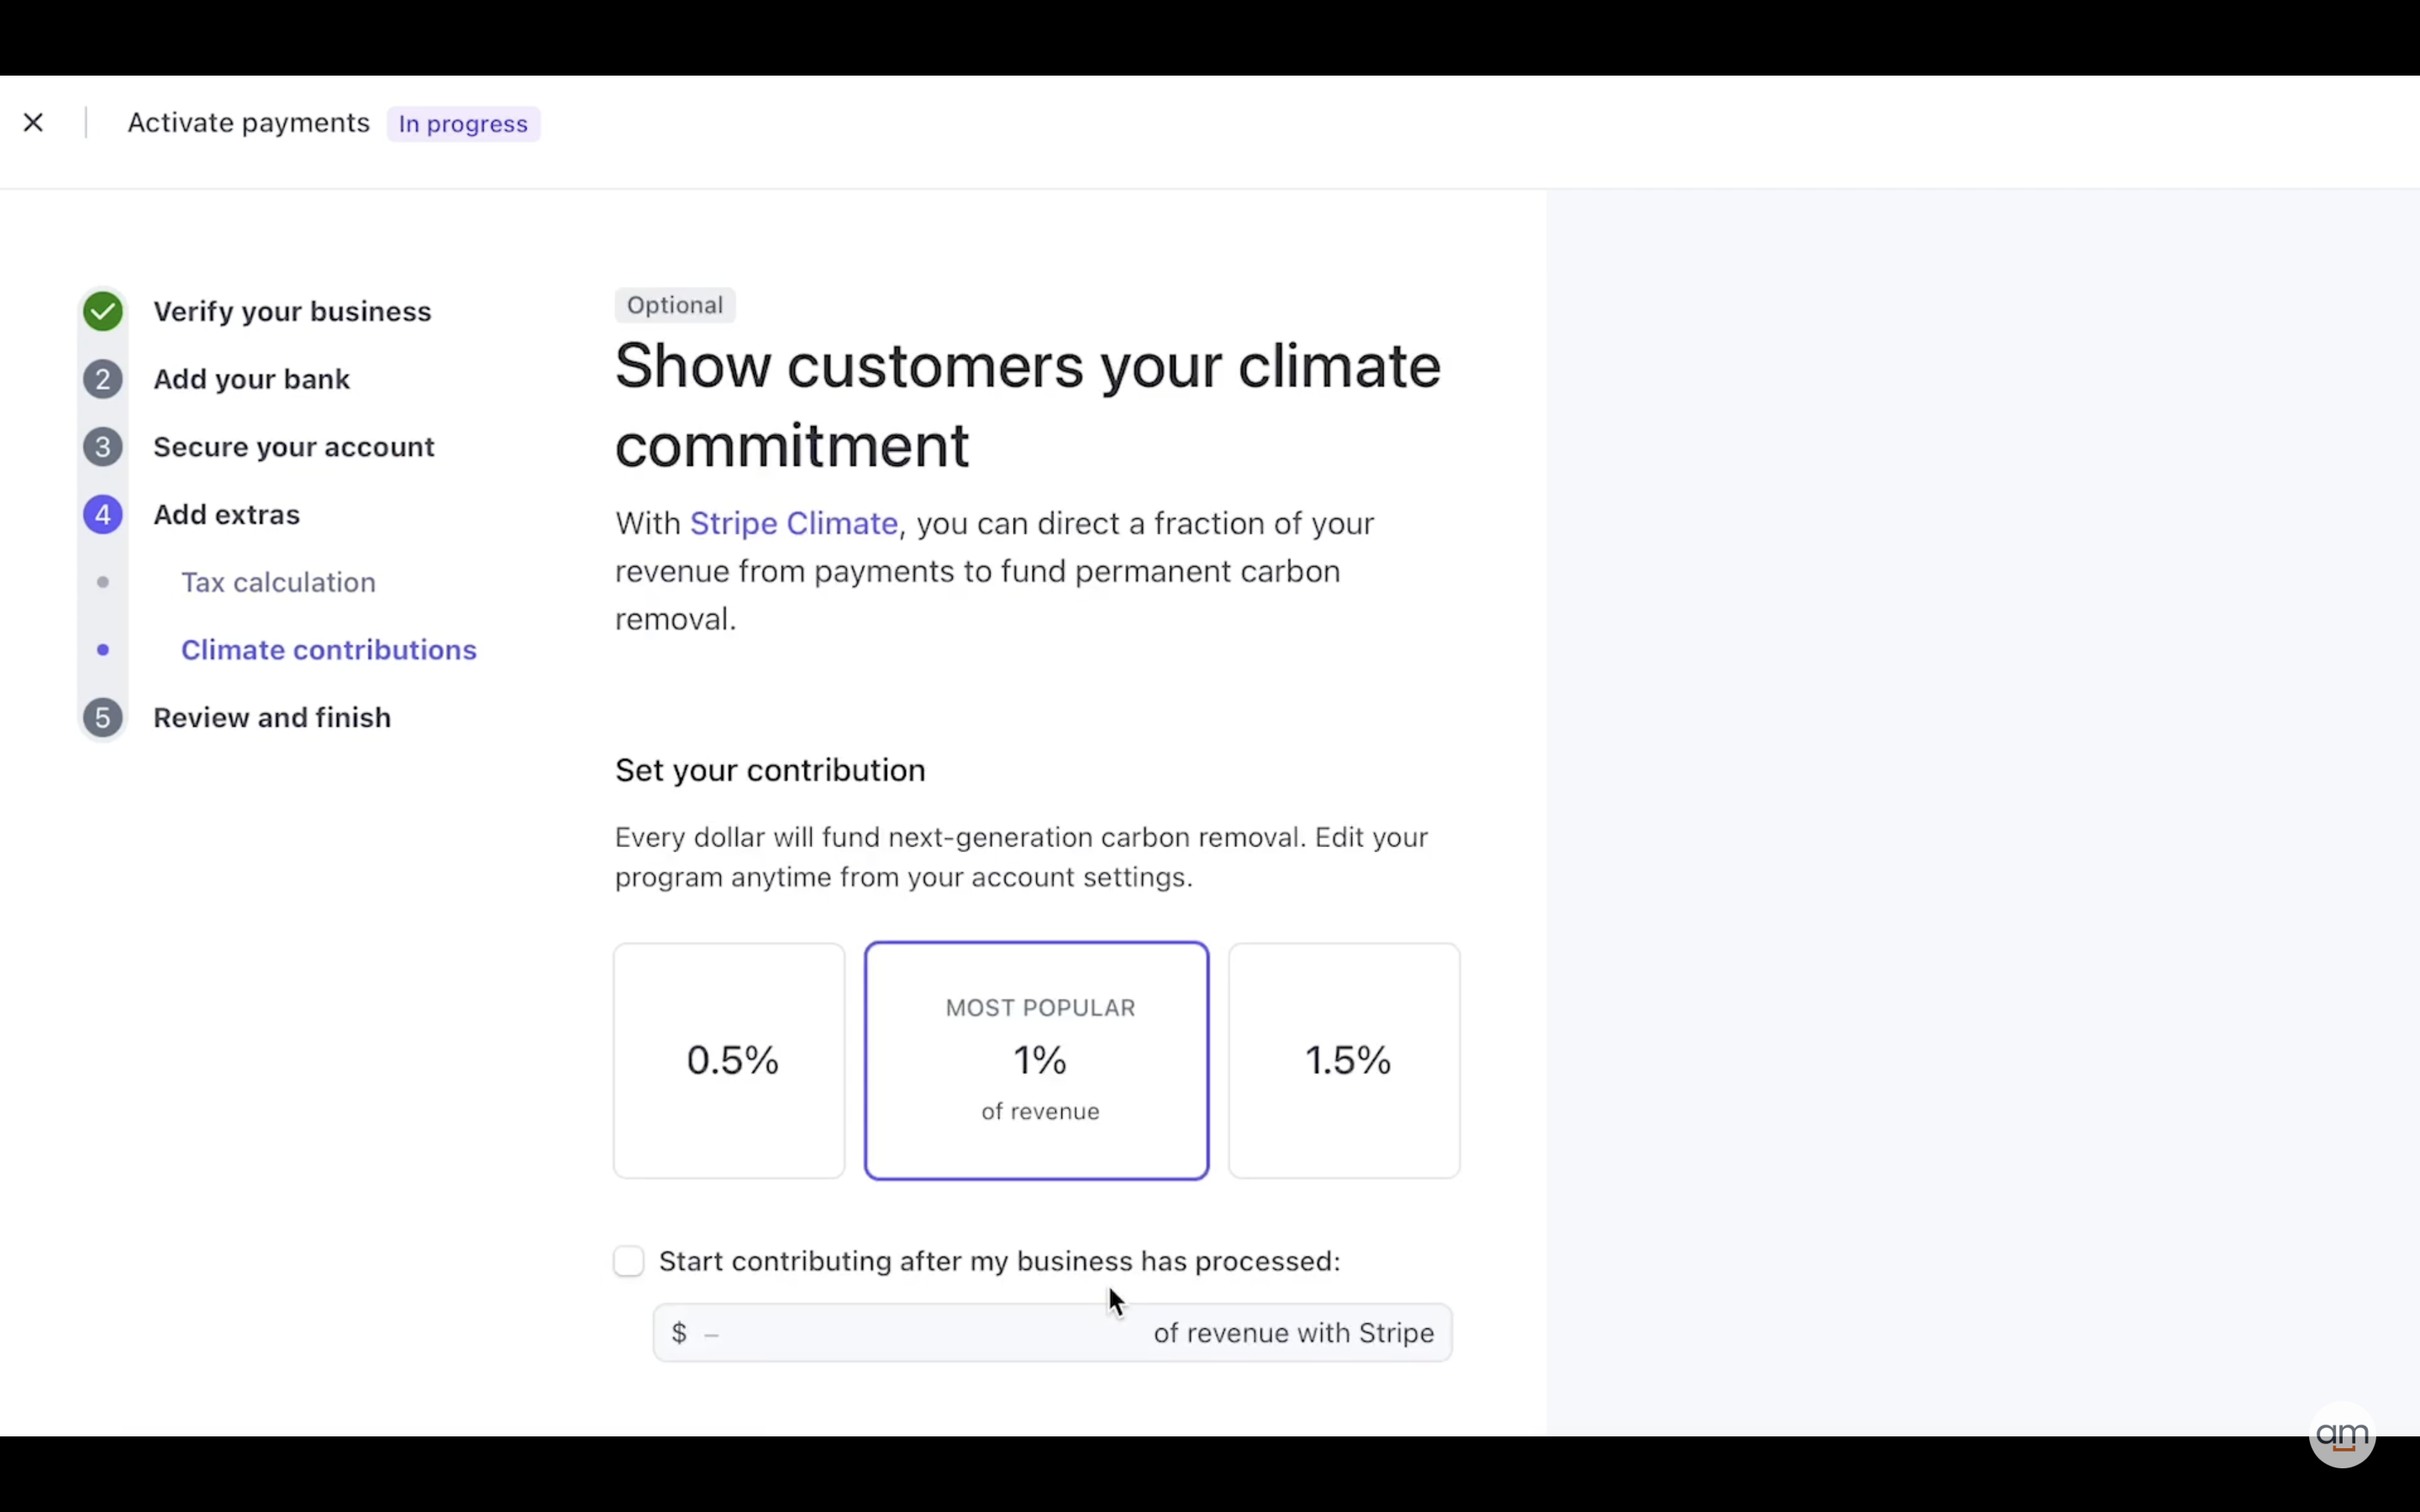
You can also add climate contributions and show customers your climate commitment. With Stripe Climate, you can direct a fraction of your revenue from payments to fund permanent carbon removal.
What are we going to do next?
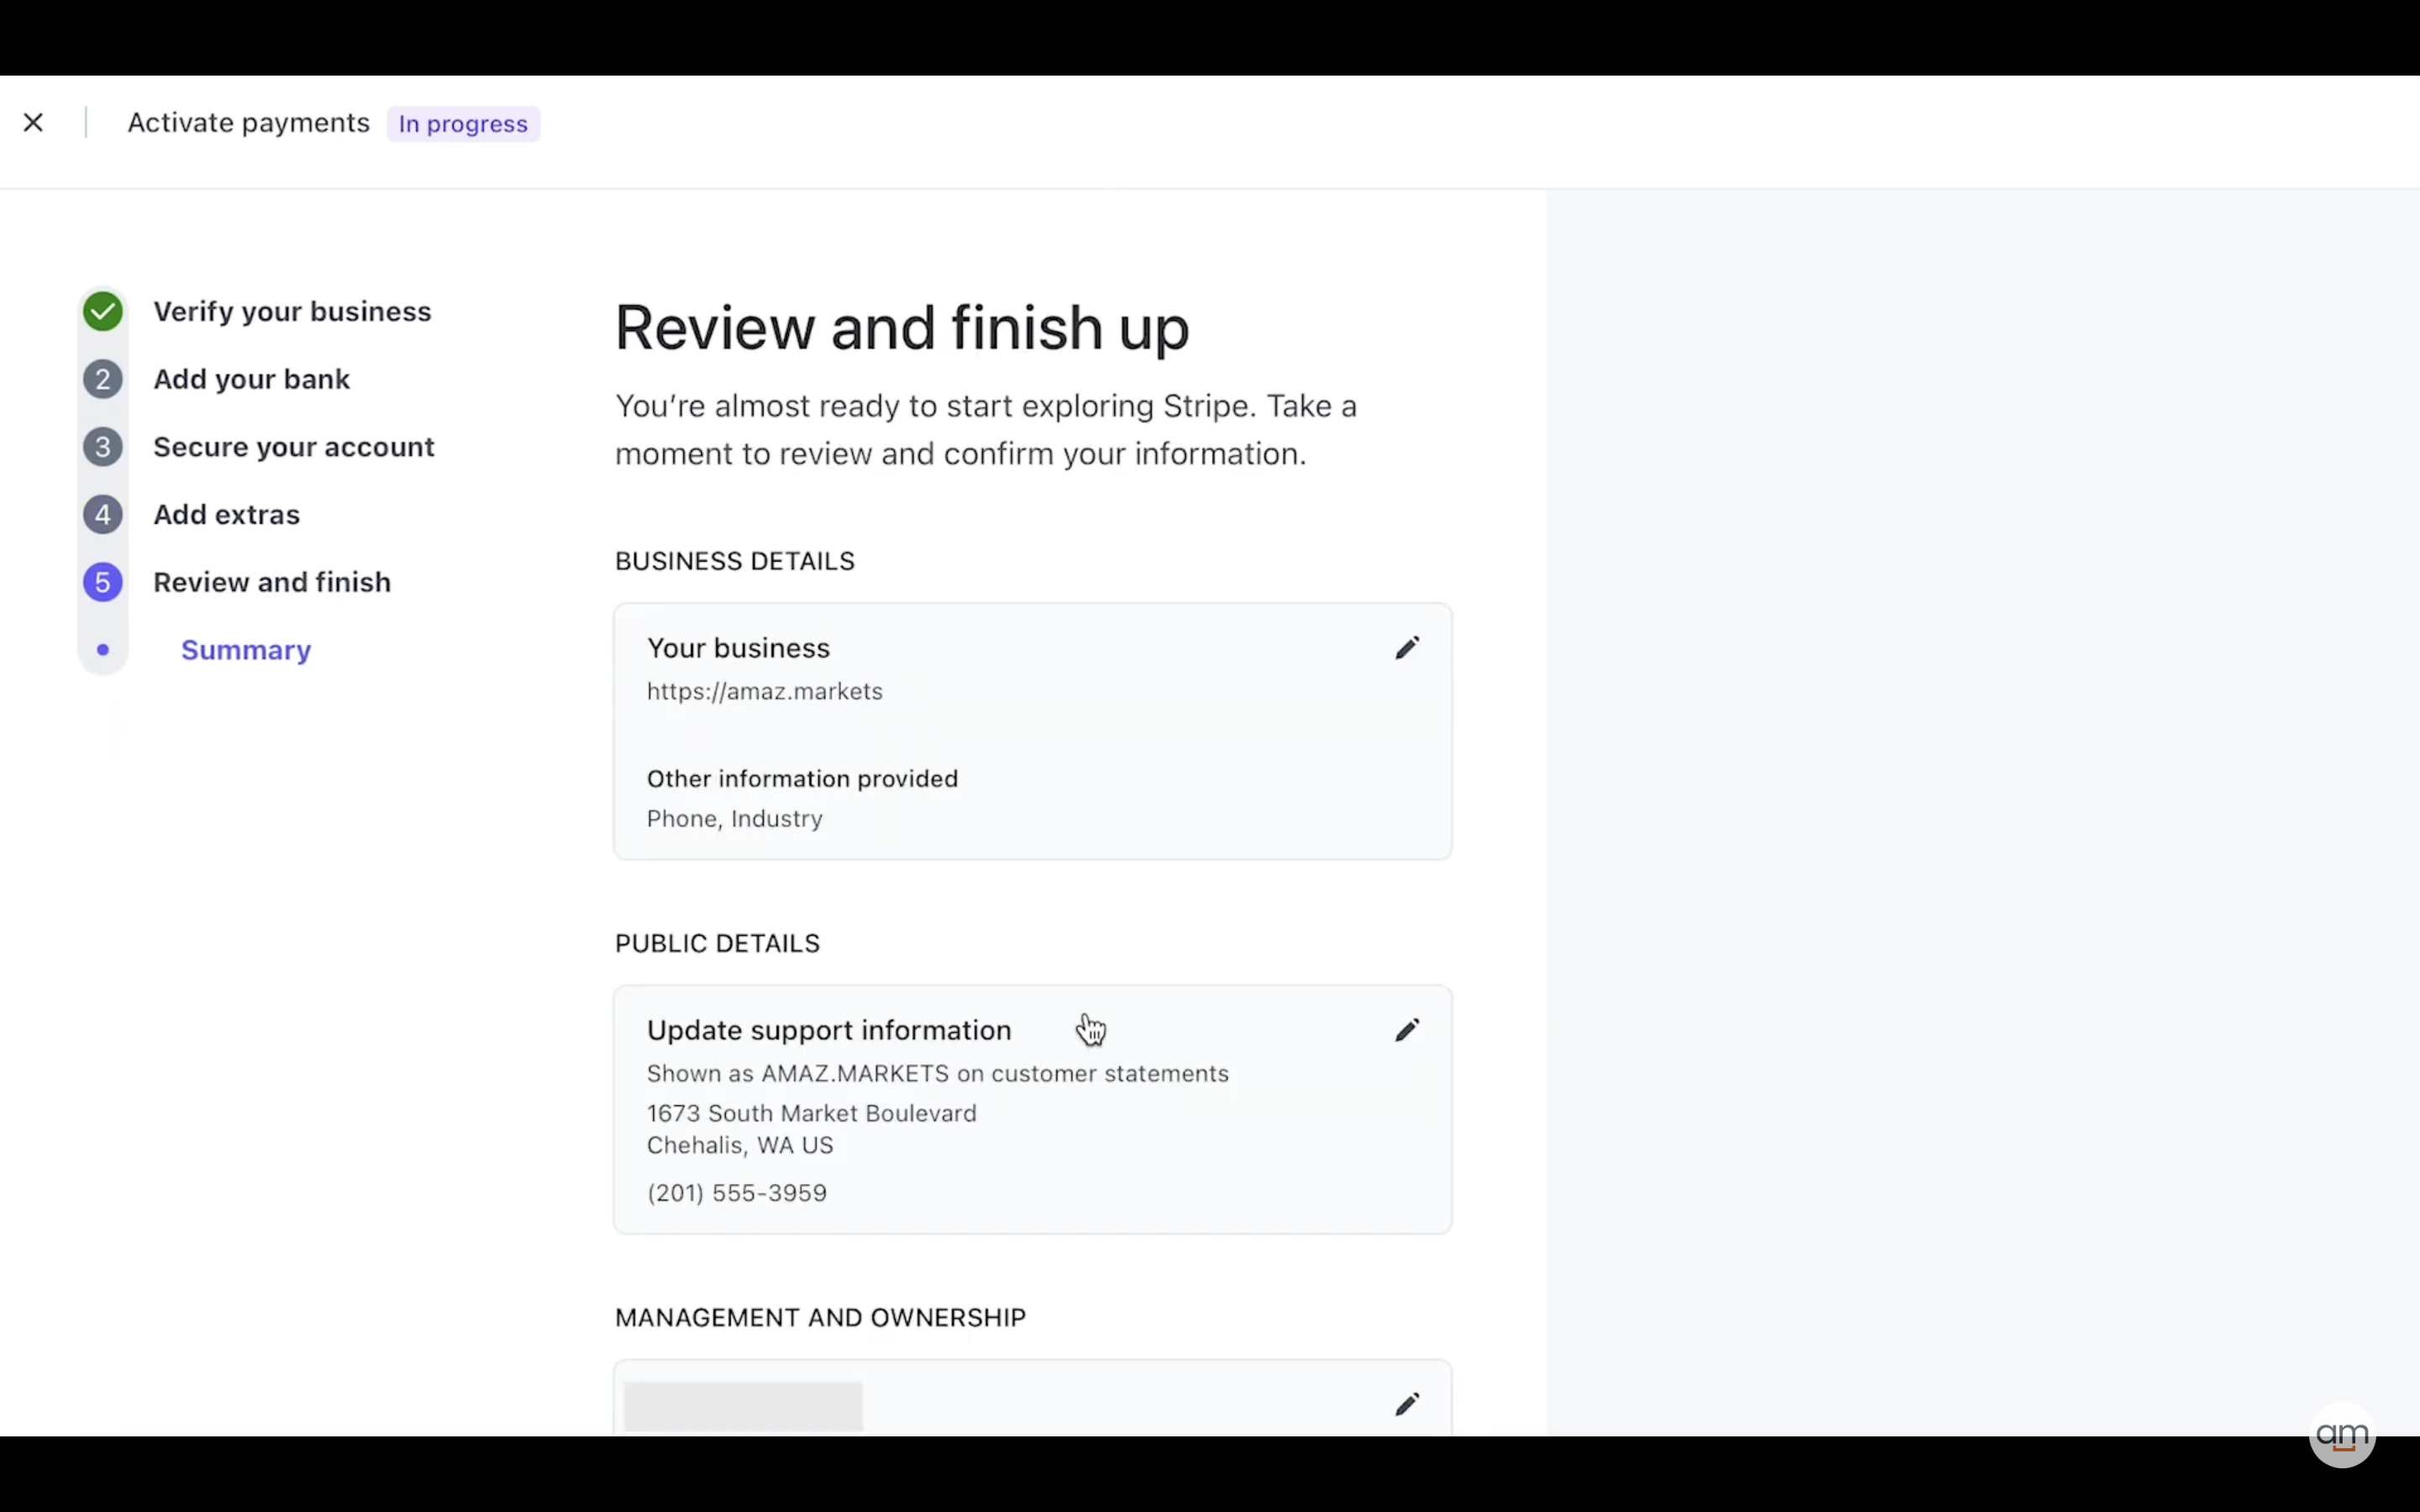
Review and finish
You’re almost ready to start exploring Stripe. Take a moment to review and confirm all your information.
Final thoughts
Stripe can be a great choice if your business has an e-commerce sales channel and you need a technologically advanced payment gateway with strong security. If your company has a development team, they can help you get the most out of Stripe’s developer tools and customize Stripe to meet your business needs.
0


